
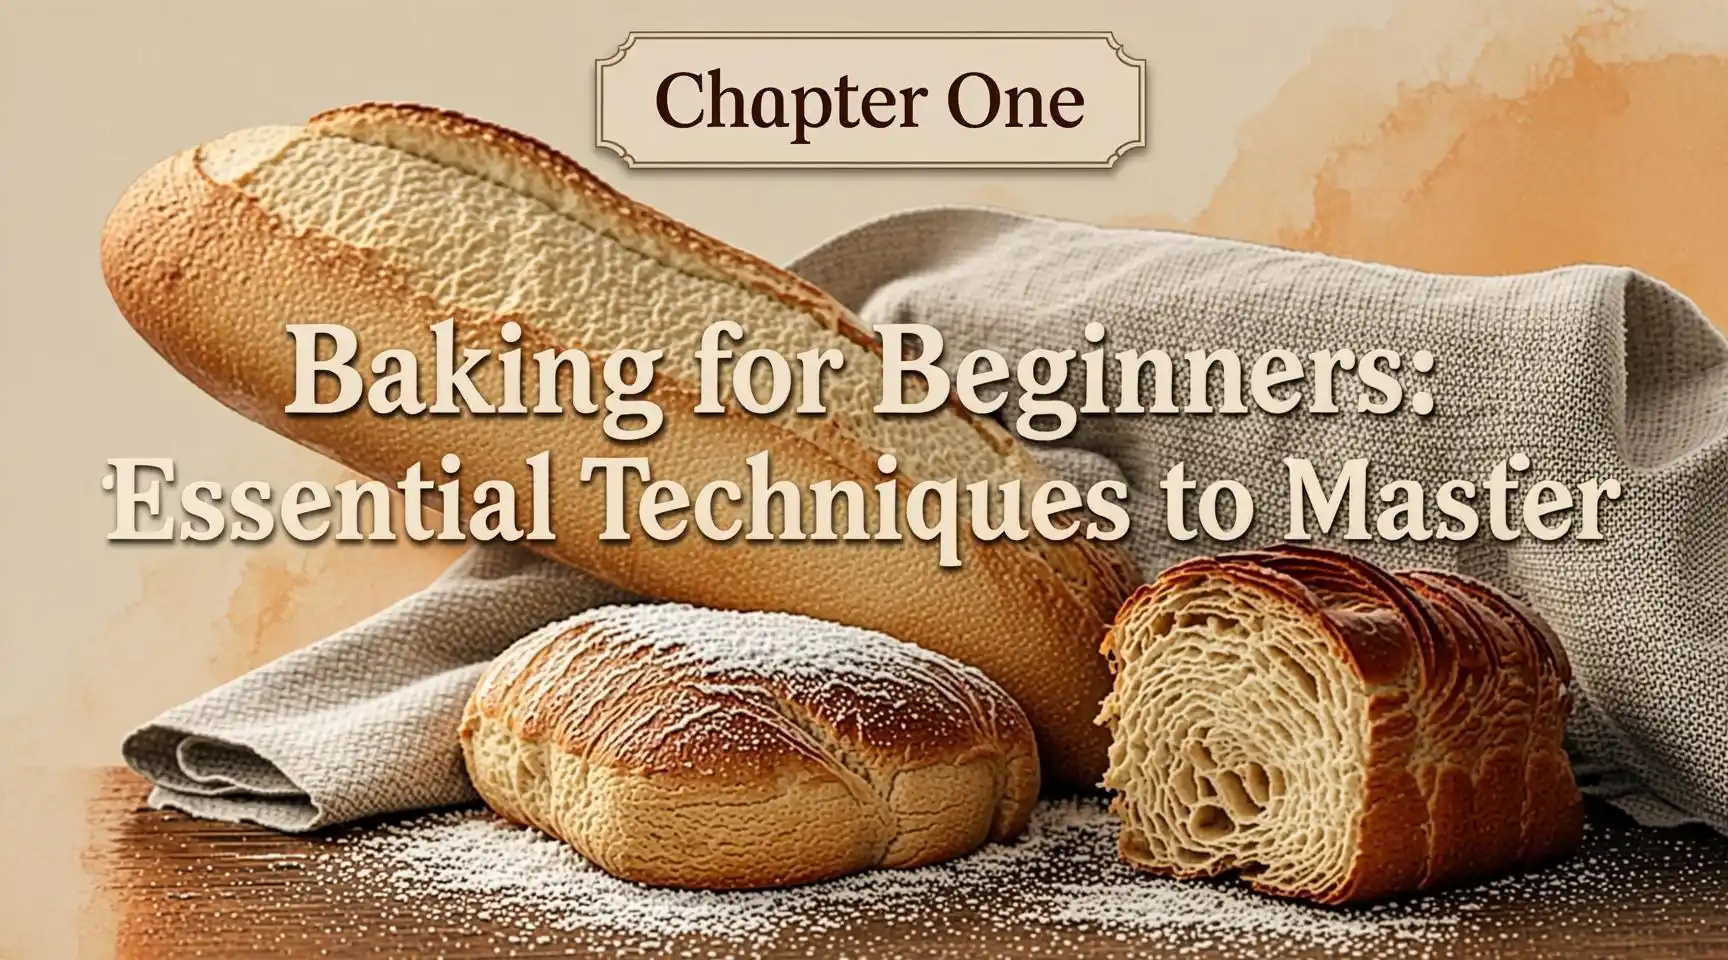
Baking for Beginners: Essential Techniques to Master
Meta Description: Discover the core baking techniques every novice needs to know. From measuring and mixing to proofing and oven mastery, learn how to bake with confidence and achieve bakery‑quality results at home.
Disclaimer: This article is for educational purposes only. Always follow food‑safety guidelines, check ingredient labels for allergens, and use oven accessories as directed. The author and publisher are not liable for any injury, allergic reaction, or damage resulting from the use of the information herein.
Introduction
If you’ve ever stared at a recipe and felt a wave of intimidation, you’re not alone. Baking can seem like a secret language spoken by professionals in white jackets, but the truth is far simpler: baking is a science, and science thrives on clear, repeatable steps. By mastering a handful of foundational techniques, you’ll transform from a hesitant “I‑think‑I‑can‑do‑it” baker into someone who consistently produces fluffy muffins, crusty bread, and tender cakes.
In this long‑form guide (≈ 2,300 words), we’ll walk you through the essential techniques every beginner should master. We’ll cover:
- The must‑have tools and pantry staples.
- How to measure ingredients like a pro.
- The three core mixing methods (creaming, muffin, and dough).
- Dough handling & shaping fundamentals.
- Proofing and the magic of fermentation.
- Oven basics – temperature, steam, and placement.
- Common pitfalls and troubleshooting tips.
By the end, you’ll have a solid mental toolbox that you can apply to any beginner‑level recipe—whether it’s a simple banana bread or a rustic sourdough loaf.
- Assemble Your Baking Arsenal
1.1 Essential Equipment
| Tool | Why It Matters | Budget Tips |
| Digital kitchen scale | Precise weight measurements > 99 % accuracy – critical for flour, sugar, and butter. | Look for a scale that measures in 0.1 g increments; many come with a tare function for bowls. |
| Set of mixing bowls (stainless steel or glass) | Stable base for whisking, creaming, and proofing. | A nesting set of 3–4 sizes saves cabinet space. |
| Measuring cups & spoons | Useful for quick volume checks, though weight is preferred for dry ingredients. | Invest in stainless‑steel or BPA‑free plastic sets. |
| Rubber spatula | Scrapes batter without scraping the bowl. | A heat‑resistant silicone spatula works for hot mixtures. |
| Whisk (balloon) | Incorporates air for light batters and sauces. | A stainless‑steel whisk is durable and dishwasher‑safe. |
| Rolling pin (French/straight) | Essential for flattening dough evenly. | A simple wood or marble pin works fine. |
| Baking sheets & parchment paper | Prevents sticking and promotes even browning. | Reusable silicone mats are an eco‑friendly alternative. |
| Oven thermometer | Verifies true oven temperature (most ovens are off by ± 25 °F). | Inexpensive digital models are available at kitchen stores. |
| Proofing basket (banneton) – optional for artisan breads | Guides shape and encourages a crisp crust. | A wicker basket can be substituted with a floured linen towel. |
Pro tip: While a stand mixer can speed up creaming and kneading, a sturdy hand‑mixer or even a wooden spoon will suffice for beginners.
1.2 Pantry Staples
| Ingredient | Typical Use | Storage Tips |
| All‑purpose flour | Most baked goods. | Store in an airtight container; cool, dark place. |
| Bread flour | High‑gluten breads. | Same as all‑purpose. |
| Granulated sugar | Sweetness, structure. | Keep dry. |
| Brown sugar | Moisture, caramel flavor. | Place a slice of bread in the container to keep it soft. |
| Baking powder & baking soda | Leavening agents. | Use within 6 months of opening. |
| Salt | Flavor enhancer, strengthens gluten. | Store in a dry place. |
| Unsalted butter | Flavor, tenderness. | Freeze in portioned blocks for longer shelf life. |
| Eggs | Emulsifier, structure. | Keep refrigerated; use within 3‑4 weeks. |
| Milk / dairy alternatives | Moisture, richness. | Store per package instructions. |
| Vanilla extract | Flavor. | Keep sealed, away from sunlight. |
- Master the Art of Measuring
2.1 Weight vs. Volume
Professional bakers weigh their ingredients because it eliminates the variability caused by packing, humidity, and spoon size. A typical rule of thumb:
- Flour: 120 g per 1 cup (scooped, not spooned).
- Granulated sugar: 200 g per 1 cup.
- Butter: 227 g per 1 cup (1 stick).
If you’re still using cups, follow these steps to improve accuracy:
- Fluff the flour with a fork.
- Spoon it into the measuring cup, never tap.
- Level it with a straight edge.
2.2 The “Tare” Technique
Place your mixing bowl on the digital scale, press the tare button to zero it out, then add your ingredient. This avoids “double counting” the bowl’s weight and speeds up the process.
2.3 Measuring Liquids
- Use a clear glass or metal jug.
- Place it on a flat surface; read at eye level.
- Add liquids slowly to avoid splashing and overshooting.
- Mixing Methods – The Three Pillars
Each mixing method creates a distinct texture by controlling air incorporation and gluten development.
3.1 Creaming Method
Best for: Cookies, cakes, and some muffins.
Steps:
- Soften butter (room temp).
- Beat butter with sugar until pale and fluffy (≈ 3‑5 min).
- Add eggs one at a time, beating after each addition.
- Incorporate dry ingredients (flour, leavening, salt) alternately with liquids (milk, oil) in small batches.
Why it works: The sugar crystals cut into the butter, creating tiny air pockets that expand during baking, resulting in a light crumb.
3.2 Muffin (or “Stir‑In”) Method
Best for: Quick breads, muffins, pancakes.
Steps:
- Combine all dry ingredients in one bowl.
- Whisk wet ingredients (eggs, milk, oil) in another.
- Pour wet into dry and stir just until combined. Lumps are fine!
Why it works: Minimal mixing keeps gluten short, preventing a dense, tough texture.
3.3 Dough (or “Kneading”) Method
Best for: Yeast breads, pizza dough, pretzels.
Steps:
- Mix flour, salt, and yeast (if using active dry).
- Add liquid (water, milk) and mix until a shaggy mass forms.
- Knead by hand or with a stand mixer until the dough passes the “windowpane test” (stretch a thin piece – it should become translucent without tearing).
Why it works: Kneading aligns gluten strands into an elastic network that traps gas, giving bread its rise and chew.
Pro tip: If you’re short on time, use the no‑knead method for rustic loaves – a high‑hydration dough left to ferment for ≥ 12 hours develops gluten passively.
- Dough Handling & Shaping
4.1 Bench‑Scraping
When you turn dough onto a lightly floured surface, use a bench scraper to lift and fold the dough. This prevents tearing and keeps the surface clean.
4.2 Bulk Fermentation
After the first mix or knead, let the dough rest (often called “bulk fermentation”). This is when yeast produces carbon dioxide, expanding the dough. Typical times:
| Dough Type | Temperature | Approx. Bulk Time |
| Bread (room‑temp) | 75 °F (24 °C) | 1‑2 h |
| Sourdough | 68 °F (20 °C) | 4‑6 h |
| Pizza dough | 70 °F (21 °C) | 1‑1.5 h |
4.3 Shaping Basics
- Round loaf: Pull the dough toward the centre, rotating to create surface tension.
- Baguette: Flatten into a rectangle, fold the short edges into the centre, then roll.
- Rolls: Divide dough into equal pieces, roll each into a smooth ball, and tuck the seam underneath.
A tight surface tension helps the loaf expand upward rather than spread outwards, yielding a higher, more uniform crumb.
- Proofing – The Final Rise
Proofing (or “final fermentation”) is the last chance for yeast to work its magic before the oven’s heat sets the structure.
5.1 Temperature Guide
| Proofing Environment | Ideal Temp | Approx. Time |
| Room‑temperature (68‑75 °F) | 70 °F (21 °C) | 45 min‑1 h |
| Cool proof (refrigerator) | 40‑45 °F (4‑7 °C) | 8‑24 h (overnight) |
| Warm proof (proofing box) | 85‑95 °F (29‑35 °C) | 30‑45 min |
Cool proofing (retarding) adds flavor and makes scheduling flexible.
5.2 The “Poke Test”
Gently press a finger ¼ inch into the dough:
- If it springs back slowly, the dough is ready.
- If it springs back quickly, it needs more time.
- If the indentation stays, it’s over‑proofed (the gluten has weakened).
5.3 Steam for Crust
A burst of steam during the first 10‑15 minutes of baking creates a glossy, crisp crust—ideal for baguettes, sourdough, and pizza.
- Place a pre‑heated metal tray on the lower rack, pour in hot water right after loading the bread.
- Or spray the oven walls with a water mister (use caution to avoid burns).
- Oven Mastery – Temperature, Placement, and Timing
6.1 Calibrating Your Oven
Even a calibrated oven can have hot spots. Use an oven thermometer placed on the middle rack and record the temperature at 5‑minute intervals. Adjust the dial accordingly.
6.2 Rack Position
- Middle rack: General purpose (cakes, muffins, cookies).
- Top rack: Browning the top (crème brûlée, gratins).
- Bottom rack: Extra bottom‑crust (pizza, baguettes).
6.3 Convection vs. Conventional
- Convection ovens circulate hot air, allowing lower temperatures (≈ 25 °F less) and shorter bake times.
- Conventional ovens rely on radiant heat; you may need to rotate pans halfway through baking for even browning.
6.4 Baking Times – The Rule of Thumb
| Item | Typical Temperature | Approx. Bake Time |
| Cupcakes | 350 °F (177 °C) | 18‑22 min |
| Banana Bread | 325 °F (163 °C) | 55‑65 min |
| Sourdough Loaf | 475 °F (246 °C) initial 20 min, then 425 °F (218 °C) 20‑30 min | 45‑55 min total |
| Pizza | 500 °F (260 °C) | 8‑12 min |
Use the visual cues (golden color, a tap that sounds hollow for cakes, internal temp of 190‑200 °F for breads) alongside the clock.
- Common Beginner Mistakes & How to Fix Them
| Mistake | Why It Happens | Quick Fix |
| Over‑mixing batter | Trying to smooth lumps. | Mix until just combined; a few streaks are okay. |
| Using the wrong flour type | Not reading the recipe. | Stick to the specified flour; if substituting, adjust liquid by + 10 % for higher‑absorption flours (e.g., bread flour). |
| Opening the oven door too often | Nervous checking. | Use the oven’s window and a timer; avoid door openings during the first 15 min of baking breads. |
| Incorrect measuring of butter (soft vs. melted) | Misreading instructions. | Follow the recipe exactly; if softened, press with fingers, if melted, measure as a liquid. |
| Undermixing yeast | Forgetting to proof or dissolve. | Always dissolve active dry yeast in warm (110 °F/43 °C) water with a pinch of sugar; wait 5‑10 min until foamy. |
| Baking at the wrong altitude | Living in high‑altitude areas. | Increase oven temperature 15‑25 °F, reduce leavening by ¼‑½ tsp, and add 1‑2 Tbsp extra liquid per cup of flour. |
| Not letting baked goods cool | Rushing to eat. | Let cakes rest 15 min, breads on a wire rack until completely cooled (≥ 1 h) for optimal crumb. |
- First‑Time Recipe Walkthrough: Classic Banana Bread
Why this recipe? It combines the creaming method (softened butter + sugar), the muffin method (wet‑into‑dry), and a gentle proof‑like rest (batter resting for 10 min) – a perfect showcase of beginner‑friendly techniques.
Ingredients (All measured by weight)
| Ingredient | Weight |
| All‑purpose flour | 250 g |
| Baking soda | 5 g (1 tsp) |
| Salt | 3 g (½ tsp) |
| Unsalted butter, softened | 115 g |
| Granulated sugar | 150 g |
| Large eggs, room temp | 100 g (≈ 2 eggs) |
| Ripe bananas, mashed (≈ 3 medium) | 300 g |
| Plain yogurt or sour cream | 60 g |
| Vanilla extract | 5 g (1 tsp) |
| Optional: chopped walnuts | 50 g |
Step‑by‑Step
- Preheat oven to 325 °F (163 °C). Place a rack in the middle and line a 9×5‑inch loaf pan with parchment.
- Weigh and sift flour, baking soda, and salt into a bowl. Set aside.
- In a large mixing bowl, cream butter and sugar together with a hand‑mixer on medium speed for 3‑4 minutes until light and fluffy.
- Add eggs one at a time, beating briefly after each. Scrape the sides with a spatula.
- Stir in mashed bananas, yogurt, and vanilla until just incorporated.
- Fold the dry‑ingredient mixture into the wet using a rubber spatula. Mix until no streaks remain (do not over‑mix).
- If using walnuts, fold them in now.
- Transfer batter to the prepared pan, smoothing the top.
- Bake for 55‑65 minutes. Test with a toothpick inserted in the center; it should come out clean or with a few moist crumbs.
- Cool in the pan for 10 minutes, then turn onto a wire rack to cool completely.
What You’ve Practiced
- Weight‑based measuring
- Creaming (butter + sugar)
- Gentle folding of dry into wet (muffin method)
- Understanding of bake time and temperature
- Cooling technique for proper crumb structure
- Frequently Asked Questions (FAQ)
| Question | Short Answer | Expanded Insight |
| Do I really need a kitchen scale? | Yes—weight is the gold standard for accuracy. | Even a cheap digital scale (± 1 g) eliminates the 10‑30 % variation you get with cup measurements. |
| Can I substitute whole‑wheat flour for all‑purpose? | Partially—use up to 30 % whole‑wheat, increase liquid by 5‑10 % per 100 g flour. | Whole‑wheat absorbs more water and can make baked goods dense if not balanced. |
| How do I know if my yeast is still alive? | Proof it in warm water with a pinch of sugar; it should foam within 5‑10 min. | Dead yeast will not produce bubbles, and the dough will never rise. |
| Why does my cake sink in the middle? | Over‑mixing, opening the oven early, or under‑baking. | Over‑mixing tears gluten, creating a weak structure; opening the door releases heat; under‑baking leaves a gummy centre. |
| Is it okay to use melted butter instead of softened? | Generally not for creaming; melted butter behaves like oil and won’t trap air. | Some recipes (e.g., brownies) specifically call for melted butter, but classic cakes require creamed butter. |
| Can I bake gluten‑free? | Absolutely—use a blend of rice flour, tapioca starch, and potato starch plus xanthan gum. | Gluten‑free batters tend to be more batter‑like; avoid over‑mixing and bake at a slightly lower temperature. |
- Next Steps – Keep Practicing!
- Create a “technique notebook.” Record the exact measurements, temperatures, and outcomes of each bake. Review and adjust.
- Pick a core skill each week – one week focus on creaming, the next on kneading, then proofing, etc.
- Join a community (e.g., r/Baking on Reddit or a local baking class) to share results and get feedback.
- Invest in a good oven thermometer—the simplest upgrade that makes the biggest difference.
Remember: Baking is a repeatable science, but it also rewards intuition. The more you practice these essential techniques, the more you’ll start to feel when a batter is ready, when a dough needs a little more stretch, or when an oven needs an extra burst of steam.
Happy baking! 🍞🥧
Keywords Used
- Baking basics
- Beginner baking techniques
- How to bake
Hashtags
- #BakingForBeginners
- #BakingTips
- #HomeBaking
Ready to share this guide on your blog? Feel free to add internal links to related posts (e.g., “10 Must‑Try Bread Recipes for New Bakers”) and schedule social media posts using the hashtags above. Your readers will thank you for a clear, step‑by‑step roadmap to confident, delicious baking.
Have any thoughts?
Share your reaction or leave a quick response — we’d love to hear what you think!
-
 0
-
 0
-
 0
-
 0
-
 0
-
 0
