
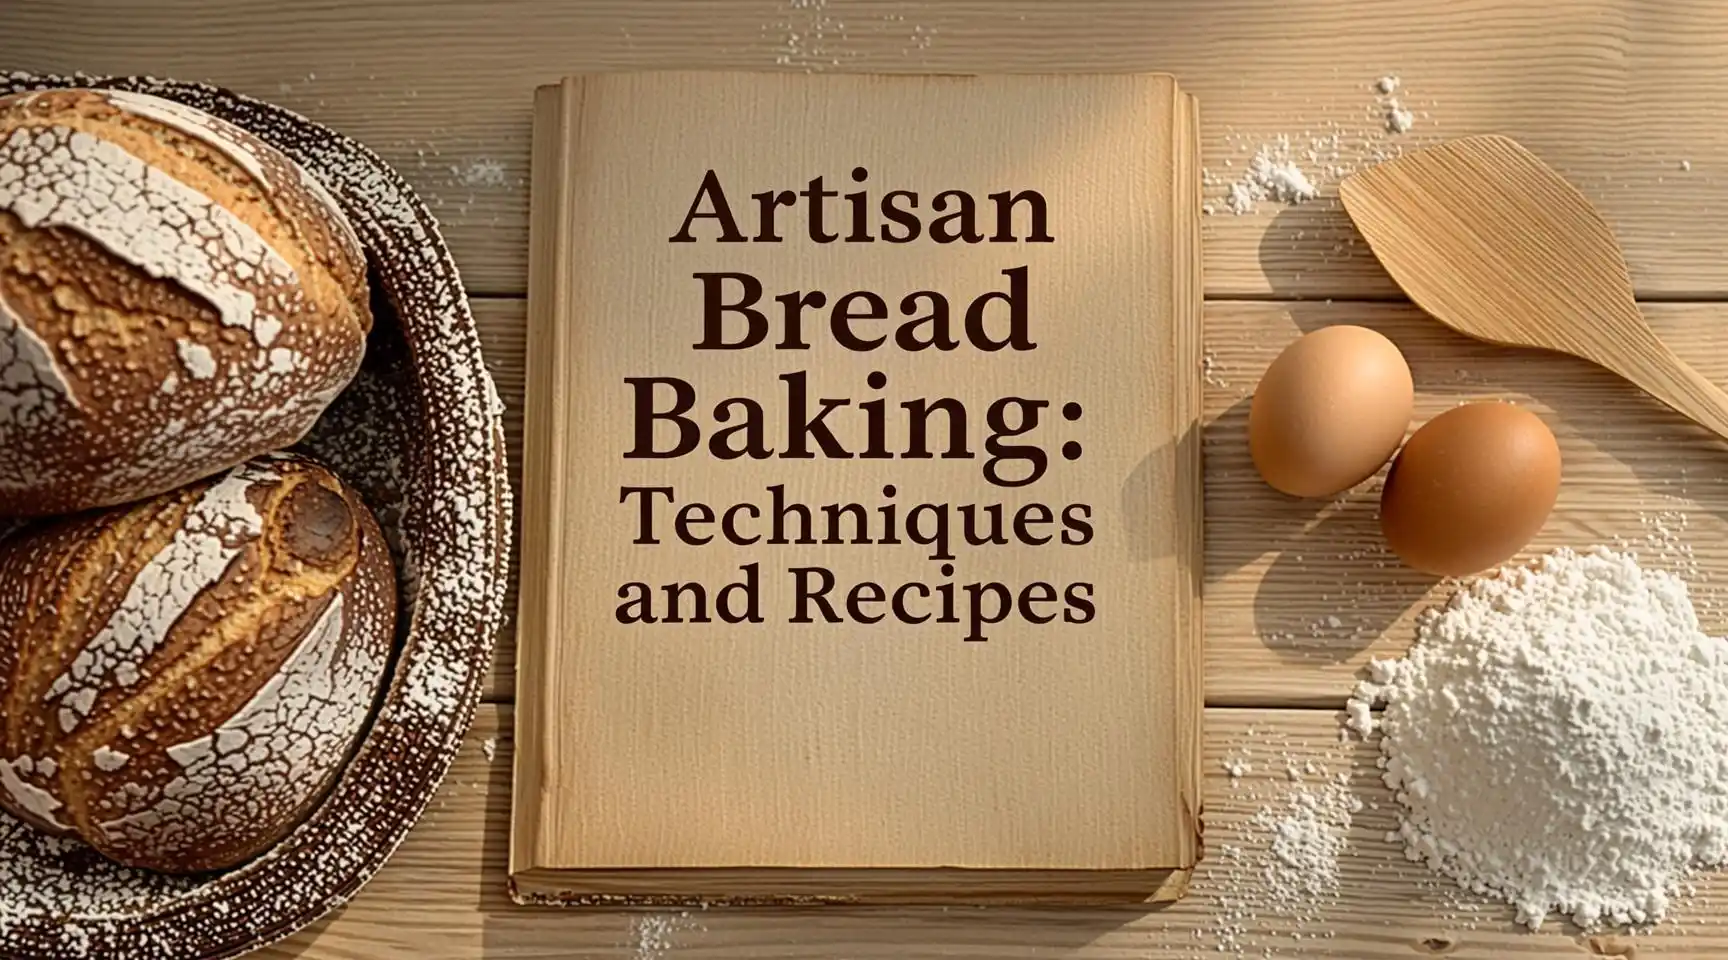
Artisan Bread Baking: Techniques, Tips, and Fool‑Proof Recipes
Meta Description: Discover the secrets of artisan bread baking—from starter creation and dough handling to three tried‑and‑true recipes. Master the craft with step‑by‑step guides, pro tips, and troubleshooting advice.
Introduction
There’s something magical about pulling a beautifully crusted loaf from the oven—its aroma fills the kitchen, the crackling crust promises a tender crumb, and every bite feels like a small triumph. Artisan bread baking isn’t reserved for professional bakers; it’s a craft anyone can learn with the right techniques, tools, and a pinch of patience.
In this comprehensive guide we’ll dive deep into the why and how of artisan bread:
- The essential equipment every home baker needs
- How to create and maintain a sourdough starter (the heart of many artisan loaves)
- Proven dough‑handling methods that develop flavor and texture
- Three fool‑proof artisan bread recipes—Sourdough, Classic Ciabatta, and Olive‑Rosemary Whole Wheat
- Troubleshooting tips for common baking woes
Grab a notebook, preheat your oven, and let’s turn flour, water, salt, and love into bakery‑quality loaves.
Table of Contents
- The Origins of Artisan Bread – Why It Matters
- Gear Up: Must‑Have Tools for the Home Baker
- The Foundation: Building a Sourdough Starter
- Core Techniques for Perfect Dough
- Autolyse
- Stretch & Fold vs. Kneading
- Bulk Fermentation
- Shaping & Scoring
- Baking Basics: Oven, Steam, and Temperature
- Three Artisan Bread Recipes
- Classic Sourdough Loaf
- Rustic Ciabatta
- Olive‑Rosemary Whole‑Wheat Bread
- Troubleshooting – When Things Go Awry
- FAQ: Quick Answers to Common Questions
- Conclusion & Next Steps
- The Origins of Artisan Bread – Why It Matters
Artisan bread dates back to ancient civilizations where bakers relied on natural leavening, hand‑shaping, and communal ovens. Unlike mass‑produced sandwich loaves, artisan bread is defined by:
- Natural fermentation – using wild yeasts and bacteria from the environment (often via a sourdough starter).
- Manual shaping – every loaf is crafted by hand, allowing for a diversity of forms and textures.
- Minimal additives – no commercial dough conditioners, preservatives, or excessive sugars.
Understanding this heritage helps us respect the process and appreciate why each step—autolyse, fold, steam—has a purpose rooted in centuries of trial and error.
- Gear Up: Must‑Have Tools for the Home Baker
| Tool | Why It’s Essential | Pro Tip |
| Digital Scale | Precise measurements (by weight) ensure consistency. | Use the baker’s percentage system (flour = 100%). |
| Bench Scraper | Aids in folding, dividing, and transferring dough. | Keep it at a 45° angle for clean cuts. |
| Proofing Basket (Banneton) | Provides structure and a rind‑friendly environment for final rise. | Lightly dust with rice flour to avoid sticking. |
| Dutch Oven or Covered Baking Stone | Traps steam for that coveted glossy crust. | Pre‑heat with lid on for at least 30 min. |
| Lame (Scoring Blade) | Controls oven spring and creates decorative patterns. | Practice on parchment before scoring the loaf. |
| Thermometer (Instant‑Read) | Monitors dough temperature & internal crumb doneness. | Ideal crumb temp: 96–98 °C (205–208 °F). |
| Mixing Bowl Set (Stainless Steel or Glass) | Non‑reactive surfaces prevent off‑flavors. | Use a large bowl for bulk fermentation to allow expansion. |
Optional upgrades: Convection oven, fermentation fridge, and a dough proofer.
- The Foundation: Building a Sourdough Starter
A strong sourdough starter is the beating heart of many artisan bread recipes. It supplies wild yeast and lactic‑acid bacteria that create flavor, open crumb, and natural leavening.
3️⃣ Quick 7‑Day Starter Timeline
| Day | Flour + Water Ratio | Instructions |
| 1 | 50 g whole‑wheat flour + 50 g water (100 % hydration) | Mix in a clean jar, cover loosely, leave at 21‑24 °C. |
| 2 | Discard 80 g, feed 25 g flour + 25 g water | Stir, reseal loosely. |
| 3 | Same as Day 2 | Bubbles should appear; aroma subtle. |
| 4 | Switch to 50 g all‑purpose flour + 50 g water | Continue feeding twice daily. |
| 5 | Feed as above, expect vigorous rise & dip | Aroma more sour. |
| 6 | Maintain twice‑daily feedings | If doubled in 4‑6 h, it’s ready. |
| 7 | Test: drop a spoonful in water — should float | If it sinks, keep feeding for 2‑3 more days. |
Key Tips
- Temperature matters – 23 °C (73 °F) is ideal; colder slows activity, hotter speeds it up.
- Water quality – Use filtered or bottled water; chlorine can inhibit yeast.
- Flour choice – Whole‑grain flours boost microbial diversity in the early days.
Once mature, store the starter in the refrigerator and feed weekly (or weekly if you bake daily, feed before each bake).
- Core Techniques for Perfect Dough
Artisan baking is a balance of science (temperature, time, percentages) and art (touch, intuition). Master these techniques and you’ll consistently achieve an open crumb and crisp crust.
4.1 Autolyse – The Secret to Strong Gluten
- Combine flour and water (no salt, no starter).
- Rest for 20 min (short) to 2 h (long).
During autolyse, enzymes hydrate the flour, making it easier to develop gluten later and improving flavor.
4.2 Stretch & Fold vs. Traditional Kneading
| Method | When to Use | Benefits |
| Stretch & Fold (SS + F) | High‑hydration dough (70 %+), no‑time‑knee‑knees | Gentle gluten development, preserves gas bubbles |
| Traditional Kneading | Lower hydration (60‑70 %), tighter doughs | Faster gluten network formation |
How to Perform a Stretch & Fold (4‑minute interval):
- Wet your hands.
- Grab a portion of dough, stretch upward, then fold over onto itself.
- Rotate the bowl 90° and repeat.
- Do 4–6 folds during each bulk fermentation window.
4.3 Bulk Fermentation – The Flavor Engine
- Temperature: 24‑27 °C (75‑80 °F) for most loaves.
- Time: 3–5 h for sourdough, 1–2 h for yeasted breads.
- Signs it’s ready: Dough has expanded ~30‑50 % and shows a “windowpane” test after a gentle stretch (no tears, thin translucent membrane).
4.4 Shaping & Scoring – From Ball to Loaf
- Pre‑shape – Lightly round the dough, let rest 15‑20 min.
- Final shape – Tension is key; pull the surface tight by rotating the dough against the countertop.
- Proofing basket – Place seam‑side up (or down, depending on desired crumb).
- Scoring – Use a sharp lame at a 30‑45° angle; create 1‑2 slashes ¼‑½ in deep.
Scoring directs expansion, preventing random tearing and giving that classic artisan look.
- Baking Basics: Oven, Steam, and Temperature
| Variable | Ideal Setting | Why It Matters |
| Oven Temperature | 250 °C (482 °F) for first 15 min, then 230 °C (446 °F) | High heat creates oven spring; later lower temp ensures even crumb |
| Steam | 100 % humidity for the first 12‑15 min | Delays crust formation, allowing maximum expansion |
| Baking Vessel | Dutch oven with lid (or cloche) | Traps steam, mimics professional steam ovens |
| Internal Bread Temp | 96‑98 °C (205‑208 °F) | Indicates fully baked crumb; lower temps yield gummy interiors |
Generating Steam Without a Dutch Oven
- Toss a handful of ice cubes onto a pre‑heated tray at the bottom of the oven.
- Spray water with a fine mist just before loading the loaf.
- Three Artisan Bread Recipes
Below are three stand‑alone recipes that showcase different techniques while staying approachable for intermediate bakers.
All weights are in grams. Use a digital scale for accuracy.
6.1 Classic Sourdough Loaf
| Ingredient | Weight | % of Flour |
| Bread Flour | 500 | 100 % |
| Water (lukewarm) | 380 | 76 % |
| Sourdough Starter (100 % hydration) | 100 | 20 % |
| Salt | 10 | 2 % |
Directions
- Autolyse – Mix flour and water, cover, rest 30 min.
- Add Starter & Salt – Fold in starter, sprinkle salt, mix until incorporated.
- Bulk Fermentation – 4 h at 24 °C, performing a set of stretch & folds every 30 min (total 4 folds).
- Pre‑Shape & Rest – Turn dough onto parchment, shape into a round, rest 20 min.
- Final Shape – Tighten into a boule, place seam‑side up in a well‑floured banneton.
- Proof – 2 h at room temperature or overnight in the fridge (cold retardation).
- Bake – Preheat Dutch oven to 250 °C. Transfer dough, slash ¼‑inch deep, cover, bake 20 min. Remove lid, lower temp to 230 °C, bake another 20‑25 min.
- Cool – Let loaf rest at least 1 h before slicing.
Key Points – The high hydration (76 %) yields an open crumb; the long, slow fermentation develops classic tangy flavor.
6.2 Rustic Ciabatta
| Ingredient | Weight | % of Flour |
| Bread Flour | 500 | 100 % |
| Water (cold) | 425 | 85 % |
| Instant Yeast | 5 | 1 % |
| Olive Oil | 15 | 3 % |
| Salt | 10 | 2 % |
Directions
- Mix – Combine flour, yeast, and water; allow a pre‑ferment (biga) for 1 h (no kneading).
- Add Oil & Salt – Incorporate oil and salt, then stretch & fold every 10 min for 3 cycles.
- Bulk Fermentation – 2 h at 22 °C, dough should be very sticky and bubbly.
- Dividing – Gently turn dough onto a well‑floured surface, cut into two pieces using a bench scraper (don’t over‑handle).
- Shaping – Dust top side with flour, stretch each piece into a flat, oval “slap” shape.
- Proof – 45 min on a parchment‑lined tray, covered with a tea towel.
- Bake – Oven at 250 °C, place loaves on a pre‑heated baking stone, add steam (ice cubes). Bake 12 min, lower to 230 °C, bake another 8‑10 min.
Result: A thin, crunchy crust with a light, airy interior full of large irregular holes—characteristic of true ciabatta.
6.3 Olive‑Rosemary Whole‑Wheat Bread
| Ingredient | Weight | % of Flour |
| Whole‑Wheat Flour | 300 | 60 % |
| Bread Flour | 200 | 40 % |
| Water (lukewarm) | 340 | 68 % |
| Active Sourdough Starter | 80 | 16 % |
| Salt | 12 | 2.4 % |
| Fresh Rosemary (chopped) | 10 | 2 % |
| Pitted Kalamata Olives (halved) | 80 | 16 % |
| Olive Oil | 20 | 4 % |
Directions
- Autolyse – Mix flours and water, rest 45 min.
- Incorporate Starter, Salt & Oil – Add starter, salt, and olive oil, mix until smooth.
- First Bulk Fermentation – 3 h at 24 °C, performing a set of stretch & folds every 30 min.
- Add Mix‑Ins – Gently fold in rosemary and olives during the final fold.
- Pre‑Shape & Rest – Shape into a loose round, rest 15 min.
- Final Shape – Form into an oblong loaf, place seam‑side up in a banneton dusted with whole‑wheat flour.
- Proof – 2 h at room temperature or overnight refrigerated.
- Bake – Preheat Dutch oven to 250 °C, bake covered 20 min, uncover and bake 15‑20 min until crust darkens to deep amber.
Result: A hearty loaf with fragrant rosemary, briny olive bursts, and a chewy, slightly nutty crumb.
- Troubleshooting – When Things Go Awry
| Symptom | Possible Cause | Fix |
| Dense crumb | Under‑fermented dough, low hydration, insufficient stretch & fold. | Increase bulk time, raise water by 5 %, add an extra fold. |
| Very sour flavor | Over‑fermented starter or long cold retardation. | Feed starter more often, reduce retard time, use a younger starter. |
| Crackling crust early (no oven spring) | Insufficient steam, dough too cool, shallow scoring. | Use a pre‑heated Dutch oven, add ice cubes, deepen slashes. |
| Large holes on crust, not in crumb | Over‑fermented dough bursting during proof. | Shorten bulk or proof time, keep dough cooler. |
| Sticky dough that won’t shape | Too high hydration, weak gluten. | Add 2‑3 % flour during shaping, incorporate a few minutes of kneading, or increase autolyse time. |
| Dough doesn’t rise in the oven | Weak starter/yeast, too much salt, cold oven. | Verify starter activity (float test), reduce salt to ≤2 %, pre‑heat oven fully. |
Pro Tip: Keep a baking journal. Record flour brand, water temperature, ambient temps, timings, and results. Patterns emerge quickly, turning guesswork into science.
- FAQ – Quick Answers
Q1: Can I use all‑purpose flour instead of bread flour?
A: Yes, but expect a slightly softer crumb and less chew. For a higher rise, combine 70 % bread flour with 30 % all‑purpose.
Q2: How long can I keep a sourdough starter in the fridge?
A: Up to 4 weeks without feeding, though weekly refreshes are recommended to maintain vigor.
Q3: Do I really need a banneton?
A: Not mandatory. A well‑floured bowl lined with a butter‑paper or a simple linen towel works, but a banneton gives a better rise pattern and a rustic look.
Q4: What’s the difference between “baker’s percentage” and “recipe weight”?
A: Baker’s percentage expresses each ingredient as a proportion of the flour weight, making scaling recipes easier. For example, a 70 % hydration dough means water weight equals 70 % of flour weight.
Q5: My crust is too pale—what’s wrong?
A: Either the oven temperature is low, or the baking time is insufficient. Try increasing the oven temp by 10 °C or extending the uncovered bake by 5‑10 min.
- Conclusion & Next Steps
Artisan bread baking is a rewarding blend of chemistry, craftsmanship, and patience. By mastering the foundational techniques—autolyse, stretch & fold, proper proofing, and steam‑rich baking—you’ve unlocked the ability to produce loaves that rival those from boutique bakeries.
Now, pick one of the three artisan bread recipes above and give it a go. Keep a log, experiment with flavor add‑ins, and don’t be afraid of the occasional “failed” loaf; each mistake teaches you something new about dough behavior.
When you feel confident, try:
- Hybrid starters (e.g., rye or spelt) for different flavor profiles.
- Sourdough pizza or focaccia using the same starter.
- Seasonal mix‑ins like roasted garlic, caramelized onions, or dried herbs.
The world of artisan bread is endless—happy baking!
Keywords
- artisan bread recipes
- sourdough starter
- bread baking techniques
Hashtags
#ArtisanBread #BakingTips #Sourdough
Disclaimer
The information provided in this article is for educational purposes only. Baking involves the handling of raw dough and equipment that can become hot. Always follow safe food‑handling practices, use oven mitts when handling hot vessels, and ensure proper kitchen hygiene. Results may vary based on ingredient quality, equipment, and environmental conditions.
Have any thoughts?
Share your reaction or leave a quick response — we’d love to hear what you think!
-
 0
-
 0
-
 0
-
 0
-
 0
-
 0
