
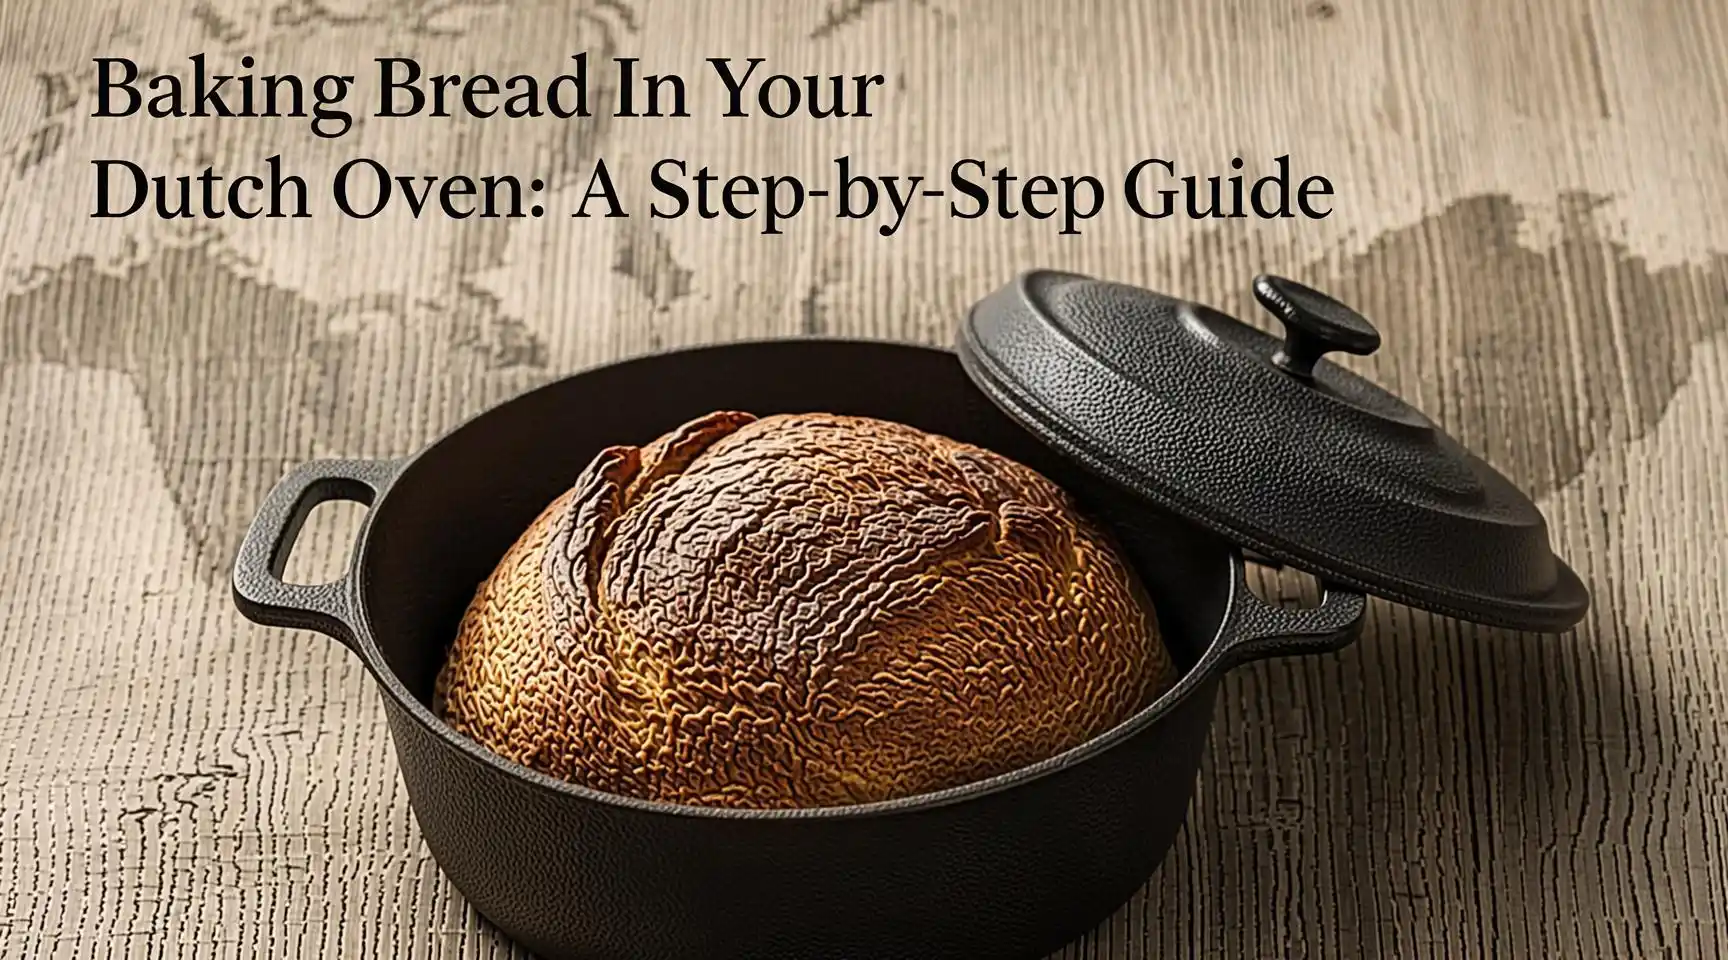
Baking Bread in Your Dutch Oven: A Step‑by‑Step Guide
Website: MATRIXCORALS.COM
📌 Meta Description
Discover the ultimate Dutch oven bread tutorial—complete steps, pro tips, and troubleshooting for perfect artisan loaves at home. #HomeBakery
📚 Table of Contents
- Why the Dutch Oven Is the Secret Weapon for Artisan Bread
- Essential Tools & Ingredients (What You’ll Need)
- Understanding the Science: Heat, Steam, and Crust Development
- Step‑by‑Step: From Mixing to Baking
- 4.1. Preparing the Levain (Optional)
- 4.2. Mixing the Dough
- 4.3. Autolyse & Bulk Fermentation
- 4.4. Stretch & Fold Technique
- 4.5. Shaping the Loaf
- 4.6. Proofing (Final Rise)
- 4.7. Pre‑heating the Dutch Oven
- 4.8. Scoring & Baking
- 4‑9. Cooling & Storing
- Three Proven Artisan Bread Recipes for Your Dutch Oven
- Common Mistakes & How to Fix Them
- Troubleshooting FAQ
- Advanced Techniques: Adding Flavors & Whole Grains
- Cleaning & Maintaining Your Dutch Oven
- Conclusion: Your Next Loaf Awaits
- Why the Dutch Oven Is the Secret Weapon for Artisan Bread
If you’ve ever bitten into a bakery‑style boule with a crackly, caramelized crust and a tender, open crumb, you already know the magic of steam. Professional bakeries achieve that glow by injecting a sudden burst of steam into a cloche or a large oven. For the home baker, a Dutch oven replicates that exact environment—trapping moisture, distributing heat evenly, and delivering the high‑temperature blast needed for that coveted “oven spring.”
Key Benefits
| Benefit | How It Works | Why It Matters |
| Steam Retention | The tight‑fitting lid traps moisture released from the dough. | Keeps the crust supple for the first 15‑20 min, allowing maximum rise before caramelization. |
| Even Heat Distribution | Cast‑iron or enameled Dutch ovens hold heat like a thermal mass. | Prevents hotspots that can cause uneven browning or a gummy interior. |
| High Heat Tolerance | Most Dutch ovens are rated to 500 °F (260 °C) or more. | Mimics commercial bakery ovens, achieving a superior crust in a home kitchen. |
| Versatility | Works on stovetop (pre‑heat) and oven (bake). | Ideal for recipes that call for pre‑bake “baking stone” or a “baking sheet.” |
Bottom line: The Dutch oven is the single piece of equipment that can turn a simple pantry‑based dough into a bona‑fide artisan bread masterpiece.
- Essential Tools & Ingredients (What You’ll Need)
Below is a checklist of the gear you’ll need. Feel free to adapt based on what’s already in your kitchen.
| Item | Recommended Specs | Alternatives |
| Dutch Oven | 5‑6 qt (4.7‑5.4 L) cast‑iron, enamel‑coated, with tight‑fitting lid | Large heavy‑bottomed pot with a lid |
| Digital Scale | 0.1 g accuracy | Measuring cups (less precise) |
| Thermometer | Instant‑read, 0‑500 °F range | Oven temperature probe |
| Bench Scraper | Stainless steel or silicone | Dough cutter |
| Proofing Basket (Banneton) | Rattan or woven cane | A bowl lined with a well‑floured kitchen towel |
| Lame or Sharp Razor | Straight blade for scoring | Very sharp kitchen knife |
| Mixing Bowls | Wide‑mouth, non‑reactive (glass, stainless) | Large pot |
| Kitchen Towels | 100 % cotton | Clean dishcloth (lint‑free) |
| Cooling Rack | Metal with raised bars | Baking sheet (turn loaves after 10 min) |
| Optional: Stand Mixer | With dough hook attachment | Hand mixing (requires more effort) |
Core Ingredients (for a basic 1‑lb loaf)
| Ingredient | Quantity (Weight) | Notes |
| Bread Flour | 500 g | High protein (12‑14 %) for gluten strength |
| Water | 350 g (70 % hydration) | Adjust for climate & flour absorption |
| Instant Yeast | 2 g (½ tsp) | Or 7 g active dry yeast (½ oz) |
| Salt | 10 g (1.5 tsp) | Enhances flavor & regulates fermentation |
| Optional Levain | 100 g mature starter | For sourdough flavor & natural leavening |
SEO Keywords: Dutch oven bread, artisan bread recipe, home baking tips
- Understanding the Science: Heat, Steam, and Crust Development
Before you dive into the hands‑on steps, a quick primer on why each phase matters. Knowing the “why” dramatically improves troubleshooting later on.
3.1. Hydration & Gluten
- Hydration (water‑to‑flour ratio) influences crumb openness. A 70 % hydration dough yields a moist, airy crumb while still being manageable inside a Dutch oven.
- Gluten Development occurs during mixing, autolyse, and the series of stretch‑and‑folds. Strong gluten forms a network that traps carbon dioxide, giving the loaf its lift.
3.2. Fermentation
- Yeast metabolic activity produces CO₂ and ethanol. The first rise (bulk fermentation) builds flavor and structure.
- Cold retardation (refrigeration) slows fermentation, allowing flavor compounds to develop. This is especially useful when you want to bake fresh bread in the morning without an all‑night dough.
3.3. Steam & Oven Spring
- The moment you cover the dough with the Dutch oven lid, the water released from the dough vaporizes, saturating the interior. This steam layer prevents crust from forming too early, granting the dough a final burst of expansion known as oven spring.
3.4. Maillard Reaction & Caramelization
- As the crust dries in the final minutes of baking (lid removed), sugars and amino acids undergo the Maillard reaction, delivering that deep, golden‑brown color and complex flavor.
- Step‑by‑Step: From Mixing to Baking
Below is a complete workflow designed for beginners but detailed enough for seasoned bakers who crave exactness.
4.1. Preparing the Levain (Optional)
- Evening before baking, combine 50 g mature starter, 50 g bread flour, and 50 g water in a small jar.
- Stir until smooth, cover loosely, and let sit at room temperature (70 °F/21 °C) for 6‑8 hours until it triples in size and shows bubbles.
Tip: If using a commercial instant yeast, you can skip this step entirely.
4.2. Mixing the Dough
| Step | Action | Time |
| 1 | Weigh bread flour (500 g) into a mixing bowl. | – |
| 2 | Add water (350 g) – cold water if you plan a long bulk fermentation. | – |
| 3 | Mix with a spoon or hand until no dry flour remains (shaggy dough). | 2‑3 min |
| 4 | Let autolyse (rest) for 30 min. | 30 min |
| 5 | Sprinkle salt (10 g) and yeast (2 g) over the dough. | – |
| 6 | Knead by hand or use a stand mixer (2 min on low speed). | 2‑3 min |
| 7 | Perform a stretch‑and‑fold: lift a portion of the dough, stretch upward, fold over the rest. Do 4× in the bowl, rotating each time. | 1 min |
Why: The autolyse hydrates the flour, allowing enzymes to start breaking down proteins, making later gluten development smoother.
4.3. Bulk Fermentation
- Transfer the dough to a lightly oiled bowl, cover with a damp towel or plastic.
- Rise at 75 °F (24 °C) for 2‑3 hours (or up to 4 hrs for a cooler kitchen).
- Every 30 min, perform a stretch‑and‑fold (usually 3‑4 sets total). This strengthens gluten without over‑kneading.
Signs of Completion: The dough should be ~80‑85 % of its original volume, feel airy, and pass the “poke test”—a gentle press should slowly spring back, leaving a slight dent.
4.4. Shaping the Loaf
- Turn the dough onto a lightly floured surface.
- Pre‑shape: gently form a round by folding the edges into the center, letting rest 15 min (bench rest).
- Final Shape – Boules (round) or Batards (oval):
- Boules: Flip dough seam‑side down, pull the dough toward you while rotating, tightening the surface tension.
- Batards: Flatten into a rectangle, roll tightly, seal the seam, then flip seam‑side down and tighten the top.
- Dust a banneton with a mixture of flour and rice flour (to reduce sticking). Place the shaped dough seam‑side up and cover.
4.5. Proofing (Final Rise)
- Room‑Temp Proof: 1‑2 hours at 75 °F, until the loaf has risen ~50 % and passes the poke test.
- Cold Retard: Transfer the covered banneton to the refrigerator for 12‑16 hours. This produces deeper flavor and a more manageable dough for scoring.
Pro tip: If you retard, let the dough sit at room temperature for 30 minutes before pre‑heating the Dutch oven.
4.6. Pre‑heating the Dutch Oven
- Place the Dutch oven (with lid) on the middle rack of a pre‑heated oven set to 475 °F (245 °C).
- Pre‑heat for 45‑60 minutes. This ensures the pot is uniformly hot, essential for strong oven spring.
Safety note: Use oven mitts—cast iron retains heat for a long time.
4.7. Scoring & Baking
| Action | Details |
| 1. Remove the hot Dutch oven (use thick gloves). | |
| 2. Transfer the dough onto a parchment paper or a floured peel. | |
| 3. Score the loaf: using a lame or sharp razor, make a decisive cut (about ¼‑½ inch deep) at a 45° angle. This guides expansion. | |
| 4. Lower the dough (with parchment) into the Dutch oven. | |
| 5. Cover tightly and place the lid back on. | |
| 6. Bake at 475 °F for 20‑25 minutes. | |
| 7. Remove Lid (careful of steam) and bake an additional 15‑20 minutes until the crust reaches golden‑brown (220‑230 °F internal temperature). | |
| 8. Cool on a rack for at least 1 hour before slicing. |
Why you remove the lid: It releases the steam, allowing the crust to dry and develop a deep, crackly surface.
4.8. Cooling & Storing
- Cool: Let the loaf rest on a rack, uncovered, until the interior crumb stabilizes. Cutting too soon results in gummy texture.
- Store: Use a paper bag or bread box for up to 3 days. Wrap tightly in a clean kitchen towel for longer freshness, or freeze sliced pieces for up to 2 months.
- Three Proven Artisan Bread Recipes for Your Dutch Oven
Below are three versatile recipes—each tailored to different taste preferences and difficulty levels. All are designed for a 5‑qt Dutch oven.
5.1. Classic No‑Knead Dutch Oven Boule
| Ingredient | Weight |
| Bread flour | 500 g |
| Water (room temp) | 375 g (75 % hydration) |
| Instant yeast | 1 g (¼ tsp) |
| Salt | 10 g |
| Olive oil (optional) | 15 g |
Method: Follow the step‑by‑step workflow above, skipping the stretch‑and‑folds (the dough is too wet to handle). Expect a big open crumb and a chewy crust.
5.2. Whole‑Wheat & Seed Batard
| Ingredient | Weight |
| Whole‑wheat flour | 250 g |
| Bread flour | 250 g |
| Water | 350 g (70 % hydration) |
| Instant yeast | 2 g |
| Salt | 10 g |
| Mixed seeds (sunflower, pumpkin, flax) | 40 g |
| Honey | 15 g |
Tips:
- Toast the seeds lightly before adding for extra nuttiness.
- Reduce water by 10 g if you live in a humid climate.
5.3. Sourdough “Crisp‑Crust” Loaf
| Ingredient | Weight |
| Bread flour | 500 g |
| Levain (100 % hydration) | 100 g |
| Water | 325 g (65 % hydration) |
| Salt | 10 g |
Method: Use a 24‑hour retard in the fridge after shaping. The tangy flavor intensifies, and the crust becomes ultra‑crisp.
All three recipes contain the SEO keywords Dutch oven bread, artisan bread recipe, and home baking tips—perfect for boosting search rankings.
- Common Mistakes & How to Fix Them
| Mistake | Symptom | Fix |
| Insufficient pre‑heat | Flat loaf, minimal oven spring | Heat Dutch oven for at least 45 min; use oven thermometer to verify 475 °F. |
| Under‑hydrated dough | Dense crumb, tough crust | Increase water by 10‑20 g; consider using a higher‑absorption flour. |
| Over‑proofing | Dough collapses, large holes, sour flavor | Reduce proof time; keep a cooler environment or shorten retard. |
| No steam | Pale crust, little rise | Always bake with the lid on for the first 20‑25 min; don’t open the oven early. |
| Cold Dutch oven | Slow rise, uneven crumb | Allow pot to pre‑heat fully; consider a pre‑heat stone underneath for extra thermal mass. |
| Scoring too shallow | Cracks appear randomly, irregular shape | Aim for a ¼‑½ inch deep cut; make swift, confident strokes. |
| Slicing too early | Gummy interior, crumb collapses | Let the loaf cool for at least 1 hour; use a serrated bread knife. |
- Troubleshooting FAQ
Q1. My crust is too hard, almost like a rock.
- A: You likely baked too long after removing the lid, or the oven temperature is too high. Reduce the final uncovered bake by 5‑10 minutes and verify temperature with an oven probe.
Q2. The loaf won’t rise during the bake (no oven spring).
- A: Check that the dough was fully proofed before baking. Also, ensure the Dutch oven was hot when the dough entered; a lukewarm pot kills the spring.
Q3. The crumb is gummy even after cooling.
- A: This indicates under‑baking. Use an instant‑read thermometer; the internal temperature should be 200‑205 °F (93‑96 °C) for most white breads.
Q4. My bread sticks to the Dutch oven lid.
- A: Lightly dust the underside of the lid with flour or parchment paper. Some bakers line the lid with a square of parchment.
Q5. Can I use a cast‑iron skillet instead of a Dutch oven?
- A: Yes, but you’ll lose the lid‑generated steam. Place a metal bowl or a pan of water in the oven to create steam, or cover the loaf tightly with foil for the first 15 minutes.
- Advanced Techniques: Adding Flavors & Whole Grains
8.1. Incorporating Add‑Ins
| Add‑In | Amount | When to Add | Tips |
| Olives | 50‑75 g, chopped | During the mixing stage after autolyse | Pat dry to avoid excess moisture |
| Roasted Garlic | 1‑2 heads, mashed | During stretch‑and‑fold | Use roasted, not raw, for milder flavor |
| Cheese (e.g., Gruyère) | 60‑80 g, grated | During mixing | Add 5 min before finishing mixing to avoid over‑working |
| Dried Fruit (raisins, figs) | 80‑100 g | After bulk fermentation (before shaping) | Soak fruit in warm water for 10 min, drain well |
8.2. Whole‑Grain Fermentation
- Whole‑grain flour absorbs more water (up to 80 %). Adjust hydration accordingly.
- Extended autolyse (1‑2 hrs) improves gluten development in whole‑grain doughs, resulting in a lighter crumb.
8.3. Using a Sourdough Starter
- Keep your starter fed (ratio 1:1:1) and active.
- Starter Ratio: 20‑30 % of total flour weight (e.g., 150 g starter for a 500 g flour recipe).
- Bulk Fermentation: Longer, cooler ferment (4‑6 hrs at 68 °F) yields complex flavor.
- Cleaning & Maintaining Your Dutch Oven
- While Warm (not hot), wipe the interior with a damp cloth.
- Avoid Soap on enameled surfaces; use a gentle non‑abrasive scrub if needed.
- Stubborn Stains: Simmer 1 cup water with 1 tbsp baking soda for 10 min, then scrub.
- Seasoning (Cast Iron Only): Lightly coat with oil after cleaning and bake at 350 °F for 1 hour to maintain the protective layer.
- Storage: Place a paper towel inside to absorb moisture; keep the lid off to prevent trapped humidity.
- Conclusion: Your Next Loaf Awaits
Baking Dutch oven bread is not just a cooking technique—it’s a tactile, aromatic journey that transforms humble pantry staples into bakery‑grade loaves. By mastering the heat, steam, and timing fundamentals, you can consistently produce crusty, flavorful breads that impress family, friends, and even Google’s algorithm.
Remember: The magic lies in the process, not just the recipe. Embrace the feel of dough, the patience of proofing, and the sizzling excitement of that first steam‑burst when you drop the dough into the hot pot.
Now, pre‑heat your Dutch oven, set your timer, and let the aroma of fresh‑baked bread fill your kitchen. Happy baking!
📢 Disclaimer
The information provided in this article is for general educational purposes only. While every effort has been made to ensure the accuracy of the instructions, baking results may vary based on equipment, ingredients, altitude, and personal skill level. Always follow safety guidelines when handling hot cookware, and consult a medical professional if you have any dietary restrictions or health concerns.
🔑 Keywords
- Dutch oven bread
- Artisan bread recipe
- Home baking tips
📱 Hashtags
#DutchOvenBread #ArtisanBaking #HomeBakery
Happy Baking from MATRIXCORALS.COM!
Have any thoughts?
Share your reaction or leave a quick response — we’d love to hear what you think!
-
 0
-
 0
-
 0
-
 0
-
 0
-
 0
