
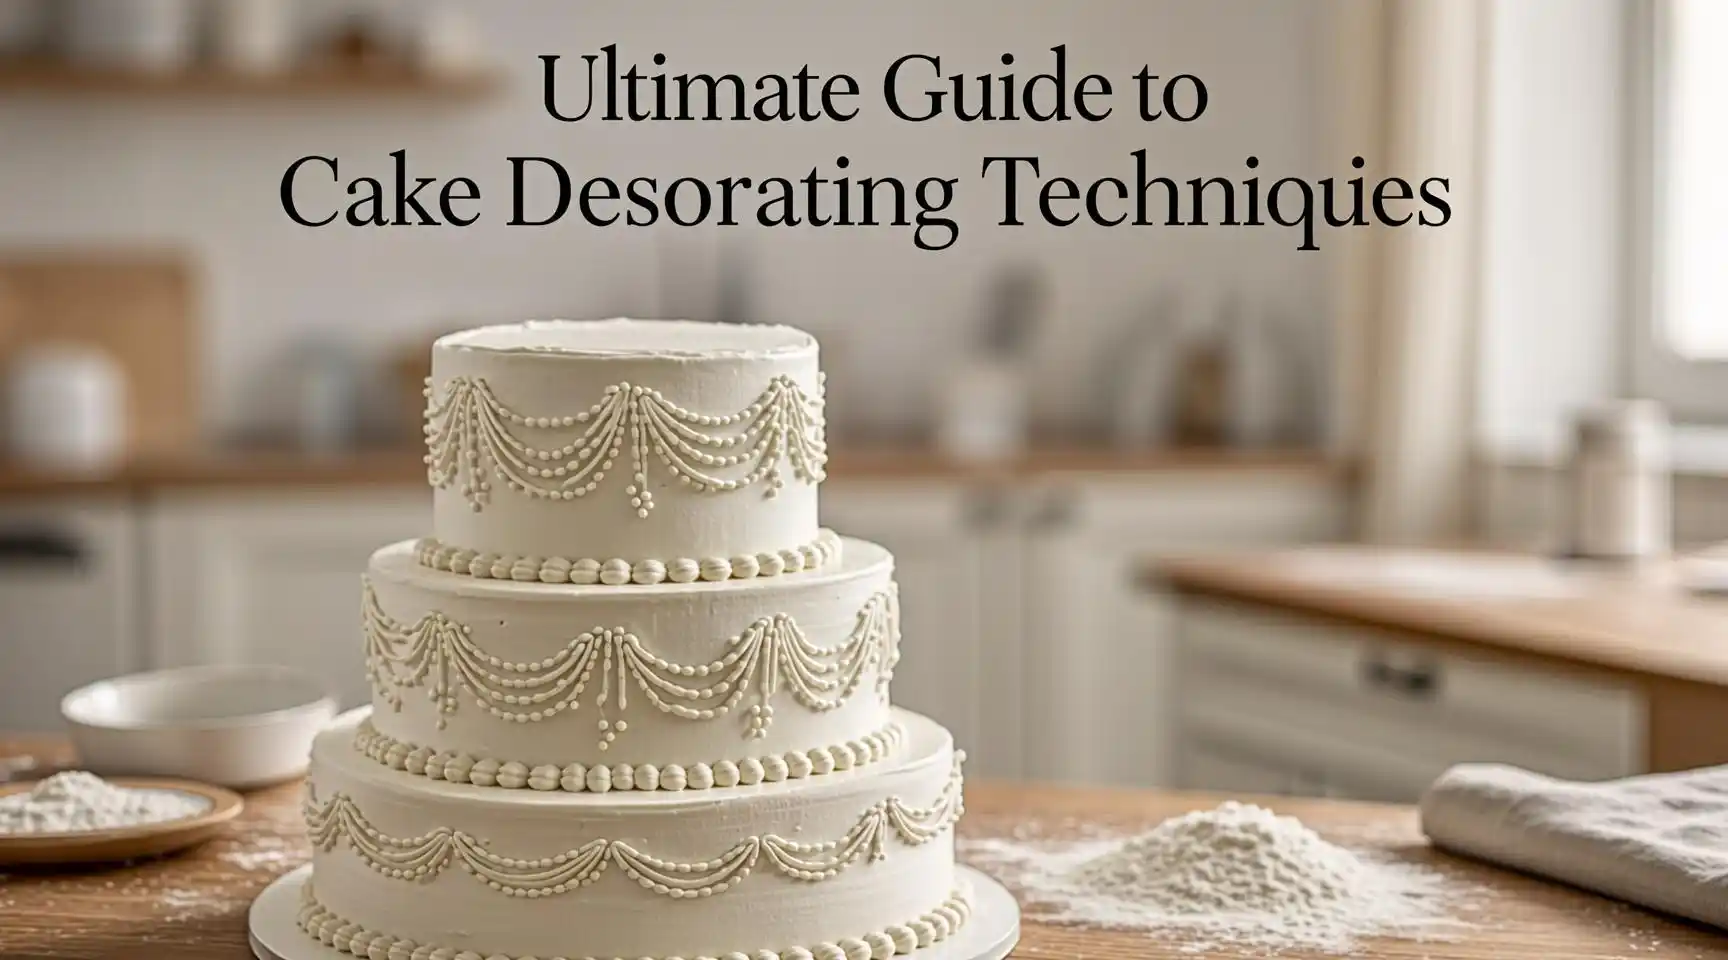
Ultimate Guide to Cake Decorating Techniques
Your one‑stop resource for everything from beginner piping to show‑stopping sculpted cakes.
Disclaimer: The information in this guide is for educational and inspirational purposes only. Results may vary based on individual skill level, equipment, and ingredients. Always follow food‑safety guidelines and test new techniques in a safe environment before serving to others.
Table of Contents
- Why Master Cake Decorating?
- Essential Tools & Ingredients
- [Foundation Techniques]
- 3.1 Leveling & Crumb Coating
- 3.2 Basic Buttercream & Ganache
- [Piping Mastery]
- 4.1 Piping Bags & Tips Overview
- 4.2 Classic Borders & Ruffles
- 4.3 Floral Designs: Roses, Peonies & More
- [Fondant Fundamentals]
- 5.1 Making & Storing Fondant
- 5.2 Covering & Smoothing Techniques
- 5.3 Modeling with Fondant
- [Advanced Techniques]
- 6.1 Ganache Drip & Mirror Glaze
- 6.2 Airbrushing & Paint Effects
- 6.3 Sculpted Cakes & 3‑D Figures
- Troubleshooting Common Issues
- Tips for Speed & Consistency (Professional Kitchen Hacks)
- Resources & Further Learning
- Why Master Cake Decorating?
Whether you’re a hobbyist baker, a wedding‑cake professional, or a social‑media foodie, cake decorating is a visual language that grabs attention and builds brand loyalty. Mastering a variety of techniques allows you to:
- Differentiate your creations – stand out in a crowded market.
- Increase revenue – premium designs command higher prices.
- Boost online engagement – eye‑catching photos translate into shares, follows, and bookings.
“A beautiful cake sells itself before the first bite.” – Anonymous
- Essential Tools & Ingredients
| Category | Must‑Have Items | Pro Tips |
| Piping | Heavy‑duty piping bags, coupler, metal and disposable tips (size 2–24), seamless turntable | Use a quiet turntable for steady hand‑free rotation. |
| Cutting & Shaping | Offset spatula, bench scraper, cake leveler, dowels & cake boards | Keep a ruler handy for precise layer height. |
| Fondant & Modeling | Rolling pin, fondant smoother, silicone molds, modeling tools (sculpting tools, toothpicks) | Lightly dust work surfaces with corn starch to prevent sticking. |
| Finishing | Airbrush kit, edible glitter, food‑safe spray bottles, heat gun (for mirror glaze) | Calibrate your airbrush before each session for consistent spray pattern. |
| Ingredients | High‑quality butter, powdered sugar, confectioners’ glaze, gelatin, cocoa butter, premium extracts | Use unsalted butter for better control of flavor and texture. |
SEO Keywords (bolded for emphasis): cake decorating tools, buttercream tips, fondant supplies, edible glitter, cake turntable, modeling chocolate.
- Foundation Techniques
3.1 Leveling & Crumb Coating
A smooth canvas is the secret to any show‑stopper cake.
- Level each baked layer with a serrated cake leveler or a long serrated knife.
- Apply a thin “crumb coat” (≈1 mm) using a spatula or bench scraper. This locks in stray crumbs.
- Chill the cake for 15–20 minutes to set the crumb coat before the final layer of frosting.
Pro Tip: Use a offset spatula for even spreading, then finish with a bench scraper for a flawless edge.
3.2 Basic Buttercream & Ganache
The backbone of most decorations.
| Type | Ingredients | Use Cases |
| American Buttercream | Butter, powdered sugar, milk, vanilla | Simple frosting, sturdy for piping borders. |
| Swiss Meringue Buttercream | Egg whites, sugar, butter | Silky texture, less sweet, excellent for smooth finishes. |
| Italian Meringue Buttercream | Egg whites, sugar syrup, butter | Stable at warm temps—ideal for outdoor events. |
| Chocolate Ganache | Heavy cream, chocolate (70%+ cacao) | Drip, glaze, or filling for elegant sheen. |
Technique Snapshot – Swiss Meringue Buttercream:
- Combine ½ cup sugar + ½ cup egg whites in a heat‑proof bowl.
- Whisk over simmering water until sugar dissolves (≈160°F/71°C).
- Transfer to a stand mixer, whip on high for 8‑10 min until glossy and thick.
- Slowly add softened butter (1 cup) while mixing. Finish with flavorings.
- Piping Mastery
4.1 Piping Bags & Tips Overview
The language of cake piping is a family of tip shapes and sizes. Below is a quick cheat sheet:
| Tip Shape | Common Sizes | Ideal Design |
| Round | 2, 3, 5, 6, 8 | Dots, stars, simple borders |
| Petal | 12, 13, 17 | Flowers, rosettes |
| Leaf | 16, 24 | Foliage, vines |
| Star (open/closed) | 12, 20, 21 | Snowflakes, tinsel, borders |
| Basketweave | 3, 5 | Textured swirls, lattice |
How to Fill a Bag:
- Fold the tip over the bag’s opening, twist the bag’s top, and push the frosting through using a spatula.
- Avoid air bubbles—squeeze gently from the bottom upward.
4.2 Classic Borders & Ruffles
- Simple Shell Border (Round 6):
- Hold the bag at a 45°, pipe a continuous “S” shape around the cake.
- Ruffle Border (Star 21):
- Create a tight “Z” pattern, then pull the tip slightly upward after each stroke for a ruffled effect.
Video‑Ready Tip: Record a 30‑second speed‑ramp clip for Instagram Reels—fast-paced, with upbeat music and a quick before/after.
4.3 Floral Designs: Roses, Peonies & More
| Flower | Tip | Steps |
| Rose | Petal 12 | 1) Pipe a small “V” as the bud. 2) Add 3–4 layered “U” strokes around the base. 3) Finish with a tiny dot for the center. |
| Peony | Petal 13 | 1) Pipe a tight “V” for the core. 2) Surround with overlapping “U” petals, each slightly larger. 3) Use faint shading with a smaller tip for depth. |
| Lily | Leaf 16 | 1) Pipe a long narrow “V”. 2) Add a second “V” slightly offset to create the petal edge. 3) Finish with a tiny leaf tip for the stamen. |
Pro Tip: Chill the cake after the base buttercream layer; cold frosting holds delicate piping longer.
- Fondant Fundamentals
5.1 Making & Storing Fondant
Homemade Fondant Recipe (Yield: ~2 kg)
- 1 lb (450 g) glucose syrup
- 1 lb (450 g) powdered sugar, sifted
- ½ lb (225 g) marshmallow fluff (or gelatin)
- 2 tbsp shortening
- 1 tsp vanilla extract
- Food‑coloring (gel)
Method:
- Melt glucose and marshmallow fluff together over low heat.
- Off‑heat, stir in shortening and vanilla.
- Transfer to a mixing bowl, gradually fold in powdered sugar until a smooth dough forms.
- Knead until elastic, wrap tightly in plastic, and store at 65‑70 °F (18‑21 °C).
Storage Hack: Place a slice of bread inside the fondant bag to prevent drying.
5.2 Covering & Smoothing Techniques
- Roll fondant to 1/8″ (3 mm) thickness on a silicone mat dusted lightly with cornstarch.
- Lift using a fondant smoother and drape over the chilled cake.
- Smooth with a light hand, using a fondant roller and a bench scraper for edges.
- Seal any seams with a dab of rolled fondant brushed lightly with a little clear edible glue.
5.3 Modeling with Fondant
- Shape basic forms (flowers, bows, figurines) using modeling tools.
- Add texture by gently pressing with a ball‑tip tool or using a food‑safe embossing stamp.
- Paint with edible gel colors using a thin brush for realistic shading.
SEO Keywords: fondant decorating, rolled fondant, modeling fondant, sugar paste tips, edible modeling tools.
- Advanced Techniques
6.1 Ganache Drip & Mirror Glaze
Ganache Drip (Chocolate):
- Heat 2 cups heavy cream to just boiling.
- Pour over 12 oz chopped dark chocolate, let sit 2 min, then whisk until smooth.
- Cool to ~95°F (35°C).
- Pour a thin ribbon around the top edge; let it cascade down the sides.
Mirror Glaze (Glossy Finish):
- 1 cup white chocolate, chopped
- ½ cup sweetened condensed milk
- ¼ cup light corn syrup
- ½ cup water
- 2 tbsp gelatin (powder) + ¼ cup cold water
Steps:
- Bloom gelatin, heat with water, corn syrup, condensed milk until dissolved.
- Remove from heat, add white chocolate, stir until smooth.
- Cool to ~90°F (32°C); dip the cake or pour over for a perfect mirror.
6.2 Airbrushing & Paint Effects
- Equipment: Airbrush gun, compressor, fine‑tip nozzle (0.2 mm).
- Colors: Use food‑grade acrylic paints (e.g., Wilton Airbrush Colors).
- Technique: Apply a thin “base coat” of white chocolate glaze, then lightly spray color for a watercolor effect.
- Safety: Clean the nozzle after each use to avoid clogging.
6.3 Sculpted Cakes & 3‑D Figures
- Build a structural base with dowels, cake boards, and a sturdy “crumb‑core” (mix cake crumbs + buttercream).
- Carve and shape using a small serrated knife and modeling tools.
- Cover with a thin layer of ganache for adherence, then roll out fondant or modeling chocolate for final skin.
- Detail with hand‑painted accents, edible pearls, and brushed metallic dust.
Pro Example: A life‑size chocolate cupcake (≈10 lb) for a birthday party—requires internal support (PVC pipe) and a dense buttercream “filling”.
- Troubleshooting Common Issues
| Symptom | Likely Cause | Quick Fix |
| Crumb coat runs | Buttercream too soft / warm | Chill frosting 10 min; add a dash of cornstarch. |
| Piping tips clog | Frosting too thick or air bubbles | Warm frosting slightly (microwave 5 sec) and re‑sift. |
| Fondant cracks | Too dry or over‑rolled | Lightly spray with a mist of water; cover with a damp cloth. |
| Ganache separates | Over‑heating or temperature shock | Re‑heat gently, whisk vigorously, or add a tablespoon of warm cream. |
| Airbrush splatter | Compressor pressure too high | Reduce PSI to 15–20; test on a scrap surface first. |
| Sculpted cake collapses | Lack of internal support | Insert dowels & cake boards before adding heavy layers. |
- Tips for Speed & Consistency (Professional Kitchen Hacks)
- Batch‑Prep Frostings – Make a 5‑kg batch of buttercream, portion into airtight containers, and label with flavor/date.
- Pre‑Measure Dry Ingredients – Use a digital kitchen scale for all sugar, cocoa, and gelatin; saves weighing time per cake.
- Set Up a “Decoration Station” – Arrange tools in a logical flow: piping → fondant → finishing (airbrush, glitter).
- Use a “Cold Plate” – A chilled marble slab keeps fondant workable longer.
- Automate Repetitive Tasks – For large orders, invest in a piping robot or fondant sheeter that can handle 10‑plus cakes per hour.
- Document Your Process – Take short video clips of each step; they become SOP (Standard Operating Procedure) references for new staff.
- Resources & Further Learning
| Resource Type | Recommended Sources |
| Books | “The Art of the Cake” by Julie Cousins; “Fondant for Beginners” by Anne Hope |
| Online Courses | Craftsy – “Advanced Cake Decorating”; The Buttercream Academy (subscription) |
| YouTube Channels | Cupcake Jemma, Molly’s Baking, The Happy Housewife |
| Communities | Facebook Group “Professional Cake Artists”; Instagram hashtag #CakeDesigners |
| Supplies | Wilton, CakeCraft, Patisserie Chic (for high‑end tools) |
🎂 Wrap‑Up: Your Roadmap to Cake‑Decorating Mastery
- Start with the basics – perfect leveling, crumb coating, and a reliable buttercream.
- Practice piping – master at least three tip families (round, petal, leaf).
- Add fondant – roll, drape, and model confidently.
- Introduce advanced finishes – ganache drips, mirror glaze, airbrushing.
- Scale up – incorporate structural supports and efficiency hacks for larger orders.
When you blend creativity with technical precision, your cakes become edible art that tells a story—whether it’s a simple birthday celebration or a luxurious wedding masterpiece.
Keywords (SEO‑optimized)
- cake decorating techniques
- buttercream piping tips
- fondant modeling tutorial
- ganache drip cake
- airbrush cake decoration
- sculpted cake guide
Hashtags for Social Promotion
#CakeDecorating #Buttercream #Fondant #BakingTips #CakeArt #DIYcooking
Ready to turn your kitchen into an art studio? Grab your piping bag, roll out that fondant, and let the creativity flow!
Have any thoughts?
Share your reaction or leave a quick response — we’d love to hear what you think!
-
 0
-
 0
-
 0
-
 0
-
 0
-
 0
