
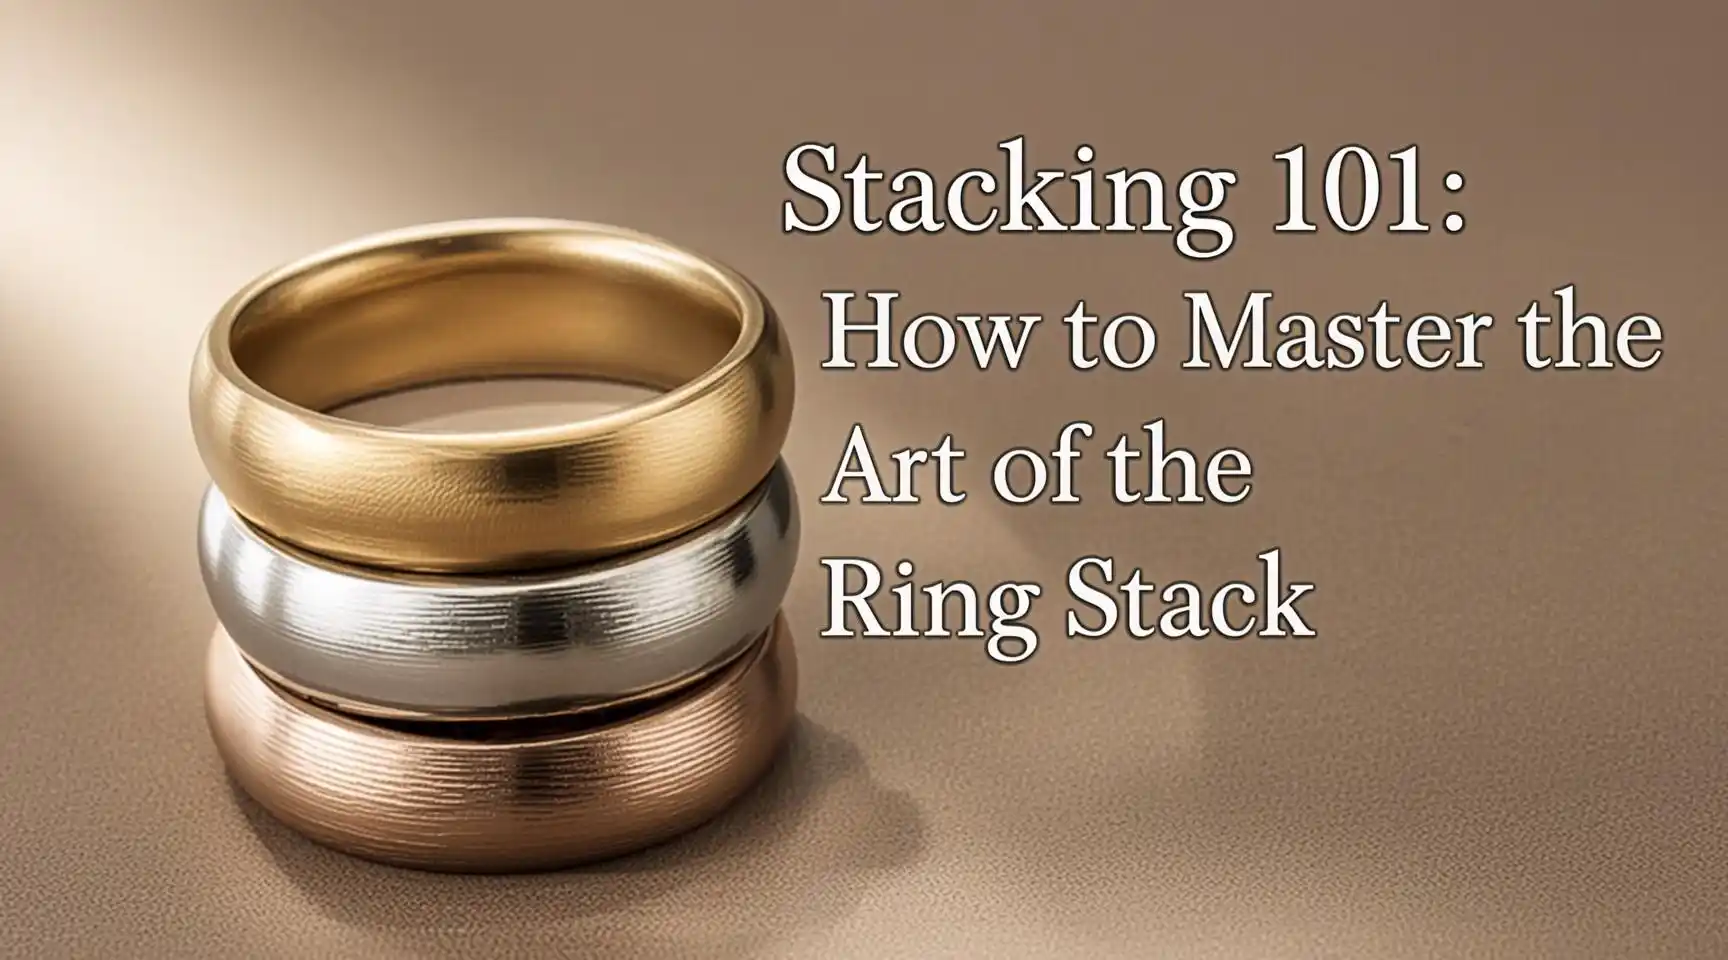
Stacking 101: How to Master the Art of the Ring Stack
Introduction
In the luminous world of jewelry, few expressions of personal style are as captivating, dynamic, and deeply personal as the art of ring stacking. It is a practice that transcends mere adornment, evolving from a simple habit of wearing multiple bands into a sophisticated visual language spoken through gold, silver, platinum, and gemstones. To master the art of the ring stack is to understand the delicate equilibrium between chaos and harmony, to recognize that every piece on a finger contributes to a larger narrative, and to accept that the most stunning compositions are often the result of bold experimentation and intimate storytelling. This guide is designed to take you on a comprehensive journey through the nuances of stacking, transforming your jewelry box from a collection of isolated pieces into a curated gallery of wearable art.
The history of wearing multiple rings dates back centuries, rooted in various cultures as symbols of status, spiritual protection, and marital alliances. However, the modern iteration of the “ring stack” has shed the rigid rules of the past. Today, it is a celebration of individuality. Whether you are a minimalist who prefers two delicate bands hugging a solitaire engagement ring or a maximalist who drapes every finger in a textured tapestry of metals, the stack is a reflection of who you are. It is a living entity that changes with your mood, your outfit, and the seasons of your life. Unlike a single statement piece that demands attention in isolation, a stack invites the viewer to look closer, to trace the lines where one ring ends and another begins, and to appreciate the interplay of light and shadow created by varied heights and silhouettes.
Why do we stack? Perhaps it is because we cannot choose just one favorite memory, so we choose to wear them all. A wedding band sits next to a birthstone ring, which sits adjacent to a vintage find from a flea market in Paris. Each ring holds energy, a talisman of a moment in time. But the true magic happens in the “negative space” between them—the way a thin spacer highlights the heft of a signet ring, or how a diamond eternity band throws sparkles onto a brushed gold companion. Mastering this art requires more than just slipping rings on; it requires an eye for composition, an understanding of anatomy, and the confidence to break the rules you are about to learn. In this exhaustive exploration, we will delve into the philosophy of the stack, the mechanics of fit, the alchemy of mixing metals, and the step-by-step architecture required to build a masterpiece that feels as good as it looks. Welcome to Stacking 101; let us begin the curation of your masterpiece.
Step-by-Step Guide to Mastering the Ring Stack
Mastering the art of the ring stack is akin to painting a masterpiece; it requires preparation, a understanding of your tools, and a methodical approach to building depth and texture. This step-by-step guide will navigate you through the technical and aesthetic decisions necessary to create stacks that are both visually stunning and comfortable for daily wear.
Step 1: Analyze Your Canvas (Hand and Finger Anatomy)
Before selecting a single ring, you must first analyze the canvas upon which you are working: your hands. The architecture of your fingers and the shape of your hands play a pivotal role in determining which styles of rings will be most flattering.
- Finger Length: If you have long, slender fingers, you have the luxury of wearing wider bands and multiple stacks without overwhelming the hand. If your fingers are shorter, you may want to opt for narrower bands and V-shaped or chevron rings that create an optical illusion of length, drawing the eye upward.
- Knuckle Size: For those with prominent knuckles, sizing is critical. Rings must fit over the knuckle but stay in place on the finger. Stacking can help here; wearing several thinner bands can create friction that keeps rings from spinning, whereas a single loose band might slide.
- Hand Proportion: Consider the overall size of your hand. Delicate, intricate filigree work might get lost on a larger hand, while chunky, oversized statement rings might look clunky on a petite hand. The goal is balance. Your stack should complement your natural anatomy, not fight against it.
Step 2: Establish the Anchor Piece
Every great stack needs a focal point—an anchor. This is usually the most significant, sentimental, or visually dominant ring in your collection. Often, for many, this is an engagement ring or a substantial cocktail ring.
- Placement: Decide where the anchor will live. Traditionally, engagement rings and wedding bands reside on the “ring finger” of the left hand. However, modern styling encourages moving the anchor to the index finger or pinky for a fashion-forward look.
- Visual Weight: Identify the visual weight of this anchor. Is it a towering solitaire diamond? A flat, engravable signet? Or perhaps a large, bezel-set gem? The subsequent rings you choose must support this piece. If the anchor is busy with detail, the surrounding rings should be simpler to let it shine. If the anchor is a plain band, you have license to go wild with texture on the supporting rings.
Step 3: Select Your Palette (Metal Mixing vs. Matching)
The debate between matching metals and mixing metals is one of the most exciting aspects of modern stacking.
- The Monochromatic Look: Sticking to one metal (all yellow gold, for example) creates a cohesive, streamlined, and classic aesthetic. It is fail-safe and exudes elegance. It allows the textures of the rings to take center stage without the distraction of color contrast.
- The Mixed Metal Approach: Once considered a fashion faux pas, mixing metals is now a hallmark of the contemporary stack. To do this successfully, use a “bridge” piece. If you want to wear a silver ring next to a gold one, try to find a ring that contains both metals, or ensure the textures are similar so the color difference looks intentional rather than accidental. Two-tone or tri-color bands are excellent unifiers. The key is to avoid a “striped” look that feels too uniform; instead, distribute the metals organically around the hand.
Step 4: Build the Foundation with “Spacer” Bands
With your anchor chosen and your palette selected, it is time to build the infrastructure. This is where “spacer” rings come into play. These are typically simple, thin bands—sometimes plain metal, sometimes pavé set with tiny diamonds.
- Creating Separation: If you have two rings with intricate settings or stones, wearing them directly against each other can cause them to scratch one another or snag on clothing. A smooth spacer band acts as a buffer, protecting your investment and creating a clean visual break.
- Texture Play: Use spacers to introduce texture. A hammered gold spacer next to a high-polish band adds depth. A milgrain (beaded edge) detail on a spacer adds vintage charm next to a modern piece. These are the “quiet” rings that allow the “loud” ones to sing.
Step 5: Incorporate Shapes and Silhouettes (The Architecture)
Not all rings are created equal in shape. Moving beyond standard flat bands introduces architectural interest to your stack.
- Chevron and V-Shape Rings: These are the secret weapons of stacking. A V-shaped ring placed next to a round solitaire engagement ring hugs the curve of the stone, minimizing the gap between rings and creating a cohesive, nested look.
- Curved and Arc Bands: Similar to chevrons, curved bands are designed to contour around larger center stones. Using these eliminates the “dreaded gap”—the empty space that appears between a straight wedding band and a raised engagement ring.
- Open Rings: Consider incorporating open rings that wrap around the finger. These can be stacked in a way that they appear to interact with the rings on adjacent fingers, breaking the traditional “closed loop” expectation and adding a layer of avant-garde intrigue.
Step 6: The Dimension of Height and Protrusion
A flat stack is a boring stack. You need variation in height to catch the light and draw the eye.
- High-Profile Rings: Rings with high settings (like prong-set solitaires) add vertical dimension.
- Low-Profile Rings: Bezel settings or flat wedding bands offer contrast to the high-profile rings.
- Ring Stacking Tips: When stacking multiple bands on one finger, remember that the total width will compress the skin. If the stack becomes too wide, it can restrict movement. A good rule of thumb is to stop adding rings when the stack reaches the knuckle. Alternatively, spread the love—move the excess rings to adjacent fingers to create a balanced “handscape” rather than a singular “finger tower.”
Step 7: The Midi and Phalanx Element
To truly elevate your stack to “master” level, you must look beyond the base of the finger.
- Midi Rings: These rings sit above the knuckle on the proximal phalanx. They add a delicate, breezy element to the hand and prevent the look from feeling too heavy at the base.
- Balance: If you have a very heavy stack on the base of your ring finger, try adding a tiny midi ring on your pinky or middle finger. This draws the eye upward and creates a sense of lightness. It suggests that the jewelry is an extension of your skin rather than just an accessory.
Step 8: Narrative Layering (The Storytelling Aspect)
Now that the technical construction is complete, focus on the narrative.
- Sentimentality: Integrate rings that mean something. A birthstone ring for your child, a souvenir ring from a memorable trip, or a family heirloom.
- The Eclectic Mix: Don’t be afraid to mix eras. A Victorian cameo can sit comfortably next to a modern minimalist band. This contrast highlights the unique qualities of each era. The “imperfect” perfectly matched stack is often the most stylish.
Step 9: The Comfort Test and Mobility Check
A stack that looks beautiful but hurts is a failed stack.
- The Fist Test: Make a fist with your rings on. Do they dig into the webbing of your fingers? Do they cut off circulation?
- Movement: Wiggle your fingers. Do the rings spin uncontrollably? If they do, you may need to add a slightly tighter ring to the stack to hold the others in place, or consider ring adjusters (small silicone bands worn inside the ring).
- Adjacency: Ensure that rings on adjacent fingers aren’t clanking together noisily or scratching each other. You may need to rotate a stone setting slightly or swap a ring to the other hand to prevent metal-on-metal abrasion.
Step 10: Rotation and Maintenance
The final step in mastering the stack is realizing that it is not permanent.
- Daily Rotation: Just as you rotate your wardrobe, rotate your rings. Give your skin a break from heavy stacks, and give the rings a chance to be cleaned.
- Deep Cleaning: Buildup of lotion, soap, and skin oils can dull the sparkle of your stack. Regular cleaning with a soft toothbrush and mild soap is essential to maintain the “masterpiece” quality of your arrangement.
- Check Prongs: Because stacking involves rings rubbing against one another, regularly check the prongs of your gemstone rings to ensure they haven’t loosened. A master stacker is a responsible caretaker of their jewels.
By following these ten steps—analyzing your anatomy, anchoring your look, balancing your palette, building with spacers, playing with shapes, managing height, utilizing the whole finger, weaving a story, ensuring comfort, and maintaining the pieces—you will move beyond simply wearing rings to truly mastering the art of the stack. It is a practice of patience and creativity, resulting in a look that is uniquely, undeniably yours.
Keywords: Ring Stacking, Jewelry Styling, Fashion Accessories
Hashtags: #RingStack #JewelryAddict #StackingRings
Disclaimer: The information provided in this article is for educational and entertainment purposes only. While every effort has been made to ensure the accuracy of the content regarding jewelry styling and care, individual results may vary based on personal anatomy and specific jewelry types. Always consult with a professional jeweler regarding the sizing, repair, and long-term care of valuable pieces. The author and publisher are not responsible for any damage to jewelry or injury that may occur as a result of following the advice in this guide. Fashion and style are subjective; trust your own intuition above all else.
Have any thoughts?
Share your reaction or leave a quick response — we’d love to hear what you think!
-
 1
-
 0
-
 0
-
 0
-
 0
-
 0
