
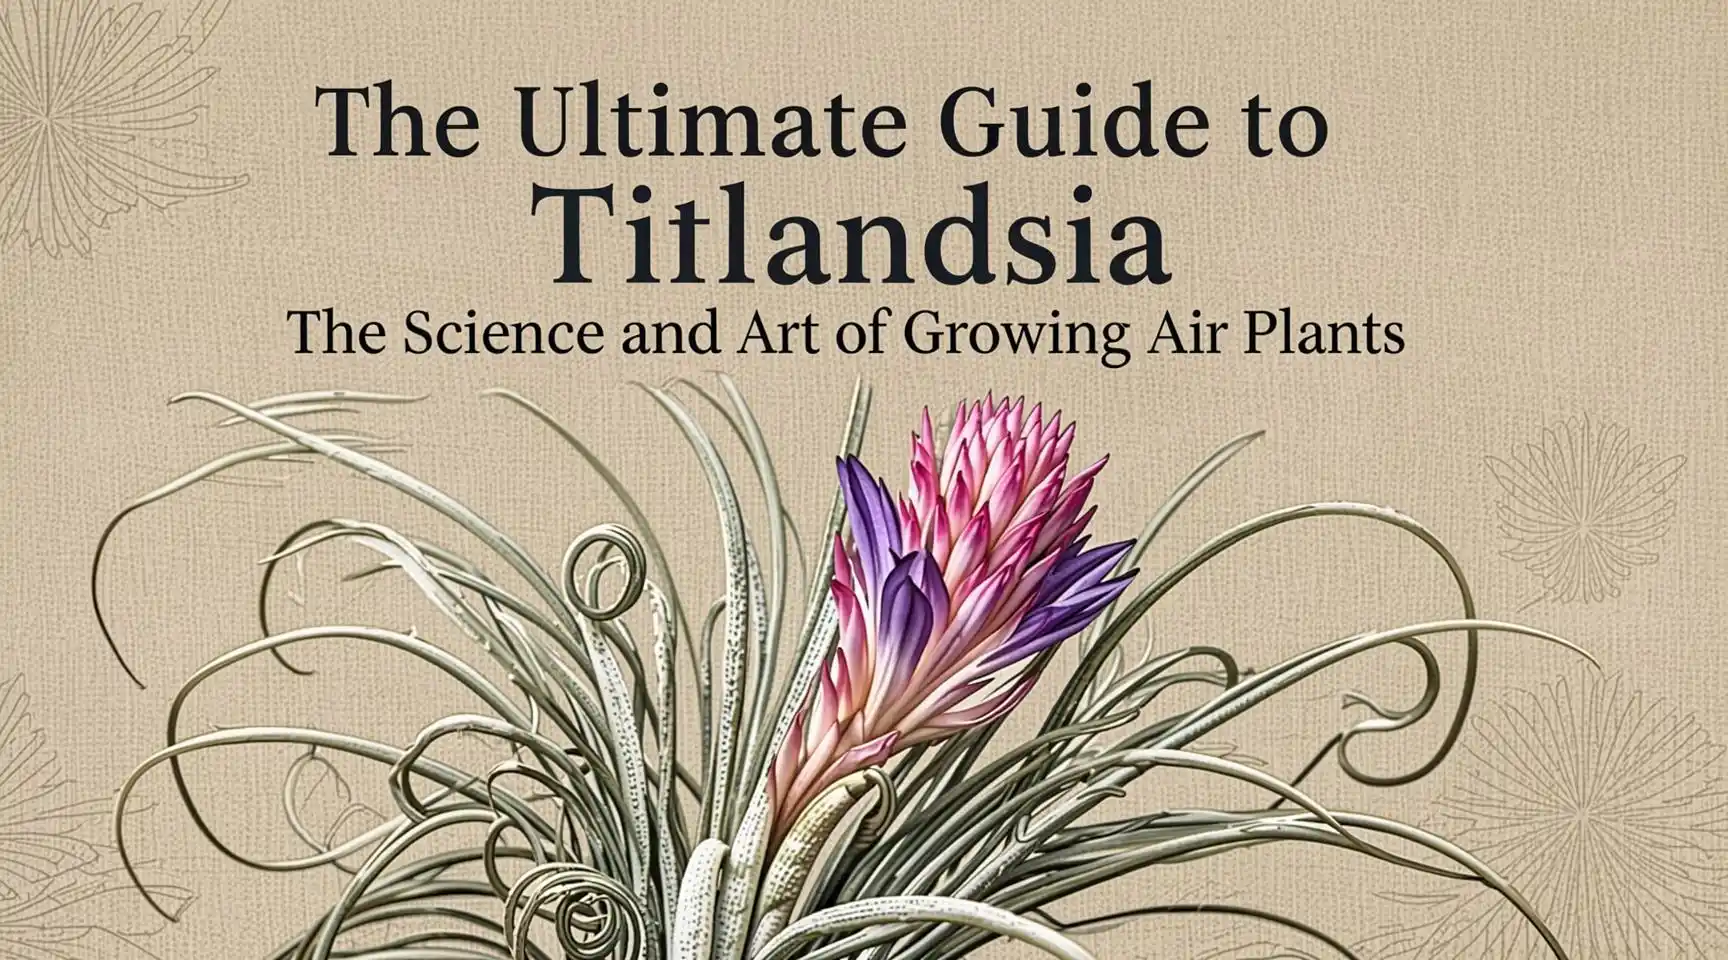
The Ultimate Guide to Tillandsia: The Science and Art of Growing Air Plants
Introduction: The Gravity-Defying Wonders of the Plant World
In the diverse and expansive world of horticulture, few plants have captured the imagination of modern indoor gardeners quite like the Air Plant. Scientifically known as Tillandsia, these enigmatic botanicals appear to defy the very laws of nature. They seem to float in mid-air, clinging to driftwood, suspended in glass terrariums, or perched on seashells, completely devoid of soil. To the uninitiated, they look like alien artifacts—silvery, sculptural, and seemingly otherworldly. But to the botanist and the enthusiast alike, they represent one of evolution’s most ingenious feats of adaptation.
Air plants belong to the family Bromeliaceae, making them cousins to the pineapple. They are indigenous to the warmer climates of the southern United States, Mexico, Central America, and South America. In their native habitats, you won’t find them rooted in the earth. Instead, you will find them clinging to telephone wires, rocky cliffs, tree branches, and even cacti. This unique lifestyle classifies them as epiphytes, a term derived from the Greek epi (upon) and phyton (plant).
Unlike parasites, which drain nutrients from their hosts, air plants are purely commensal. They use their host plants merely as a platform to reach sunlight, causing no harm whatsoever. This ability to grow without soil is not just a novelty for human decoration; it is a survival strategy that has allowed them to thrive in environments where ground space is competitive or where the soil is too poor to support life.
The “magic” of the air plant lies in its specialized foliage. The leaves of a Tillandsia are covered in microscopic scales known as trichomes. These scales are not merely decorative; they are the plant’s lifeline. They function like powerful sponges and kidneys, absorbing water vapor and nutrients directly from the atmosphere. This evolutionary adaptation allows them to pull moisture from the humid air or catch rain droplets as they cascade down a tree trunk.
However, the label “Air Plant” is somewhat of a misnomer that has led to the demise of many a specimen. Beginners often hear the name and assume these plants live on air alone, requiring no water or attention. This could not be further from the truth. While they do not pull nutrients from soil, they are biological organisms that require water, light, and air circulation to survive. They are “air plants” because they breathe through their leaves, not because they subsist on nothingness.
This guide explores the intricate biology of these plants, dispels common myths, and provides a rigorous, step-by-step methodology for cultivating them. Whether you are a seasoned green thumb looking to expand your collection or a beginner eager to add a touch of the exotic to your home, understanding the “scoop” on Tillandsia will transform your approach to their care, ensuring that these gravity-defying wonders not only survive but thrive under your stewardship.
The Scoop: Understanding Tillandsia Biology and Variety
Before diving into the care regimen, one must understand the internal machinery of the air plant. The secret to their success is the trichome. If you look closely at a silvery air plant (like a Tillandsia xerographica), you will see a fuzzy or dusty coating on the leaves. These are thousands of trichomes.
Trichomes serve a dual purpose. First, they reflect intense sunlight, protecting the plant from scorching in its exposed, high-altitude habitats. Second, they rapidly absorb water. When a rainstorm passes, the trichomes snap open to collect water molecules; once the plant is hydrated, they close to seal in moisture. This is why air plants change color after watering—often turning a vibrant, deeper green as the trichomes swell with water.
It is also crucial to distinguish between the two main categories of air plants, as their care differs slightly:
- Xeric Air Plants: These are native to drier, arid climates (like deserts or high-altitude mountains). They typically have a heavy coating of trichomes, giving them a silvery, white, or gray appearance. They are adept at holding onto water for long periods and prefer more light and less frequent watering. Examples include the Tillandsia xerographica (the King of Air Plants) and Tillandsia tectorum.
- Mesic Air Plants: These hail from humid, rainforest environments. They have fewer trichomes and appear shinier and darker green. They dry out faster and require more frequent watering and slightly less intense light. Examples include Tillandsia ionantha and Tillandsia bulbosa.
Understanding which type of air plant you have is the first step in mastering their care.
Step-by-Step: How to Grow and Care for Air Plants
Growing air plants is less about “gardening” in the traditional sense and more about environmental management. Because they are removed from their natural ecosystem and placed in our homes, we must mimic the conditions of the tropical forest or arid mountain.
Step 1: Acclimatization and Initial Assessment
When you first bring an air plant home, it is likely in a state of shock from shipping.
- The Inspection: Gently remove the plant from its packaging. Inspect the base for any signs of rot (brown or black mushy spots) and check the leaves for extreme dehydration (curling inward or rolling up like a straw).
- The Rehydration: Do not fertilize immediately. Give the plant a long, lukewarm soak (see Step 3) to rehydrate it.
- The Quarantine: If you have other plants, keep the new arrival isolated for a few days to ensure it isn’t carrying any pests.
Step 2: Mastering Light Requirements
Light is the energy source for photosynthesis. Without sufficient light, an air plant will slowly decline, eventually turning into a mushy heap.
- Bright, Indirect Light: This is the gold standard. Place your plant within a few feet of a window where it can see the sky but not be scorched by direct sun rays (which can burn the leaves, except in the early morning or late afternoon).
- Artificial Light: Air plants thrive under fluorescent or full-spectrum grow lights. The lights should be on for roughly 12 hours a day. The plant should be placed relatively close to the bulb (within 3 feet) to benefit.
- Signs of Trouble: If the leaves turn bleached or white, the plant is getting too much sun. If the plant becomes leggy, loses its color, and the lower leaves begin to die off, it needs more light.
Step 3: The Art of Watering (The Critical Step)
This is where most air plant owners fail. Because they don’t need soil, people assume they don’t need water. The method of watering depends on the leaf type:
- The Soaking Method (Best for Mesic/Green plants): Once a week, submerge the entire plant in a bowl of room-temperature tap water, rainwater, or bottled water. Let it soak for 20 to 30 minutes.
- The Dunking Method (Best for Xeric/Silvery plants): These plants can rot if soaked too long. Instead, dunk them in water for a few minutes, or run them under a faucet 2-3 times a week.
- Misting: Misting is insufficient as a sole source of water. It helps raise humidity but does not hydrate the plant internally. Use misting only between soakings for very dry environments.
Crucial Step – Drying: After watering, shake the excess water off the plant. Wet leaves can lead to rot, especially at the base where the leaves meet. Place the plant upside down on a towel in a bright spot with good air circulation. It must be completely dry within 4 hours. Never put a wet air plant back into a closed terrarium.
Step 4: Air Circulation
Air plants need constant fresh air. In the wild, a breeze dries them out after rain, preventing fungal growth.
- Stagnant air is a death sentence. Do not place them in sealed jars without air holes.
- Ensure they are not cramped against other objects that block airflow.
- Fans are beneficial; the gentle movement of air strengthens the plant and dries the leaves effectively.
Step 5: Temperature and Humidity Control
- Temperature: Air plants are tropical. They prefer temperatures between 50°F and 90°F (10°C to 32°C). They can survive brief dips, but frost will kill them instantly.
- Humidity: If you live in a dry climate (like the desert Southwest) or use heating/air conditioning heavily, you will need to water more frequently or use a humidifier. In humid climates (like Florida), watering frequency should be reduced.
Step 6: Nutrition (Fertilization)
While air plants can survive without fertilizer, they thrive—and eventually bloom—with it.
- The Fertilizer: Use a fertilizer specifically formulated for bromeliads or air plants (low in copper, as copper is toxic to them). Alternatively, a regular houseplant fertilizer diluted to 1/4 strength works.
- The Schedule: Fertilize once a month during the growing season (Spring through Autumn).
- The Method: Add the fertilizer to your soaking water. This allows the plant to absorb nutrients through its trichomes during the soak.
Step 7: Mounting and Displaying
One of the joys of air plants is that they can be displayed in infinite ways. However, you must ensure the mount does not damage the plant.
- Adhesives: Use liquid nails or a waterproof glue (like E6000). Never use superglue, and never glue the base of the plant (the root area). Glue the leaves to the mount or glue the plant to a wire that is attached to the mount.
- Wire: You can use fishing line or copper wire to gently wrap the plant to a driftwood piece. Ensure the wire is not so tight that it cuts into the plant as it grows.
- Soil-less Substrate: You can place the plant in sand, gravel, or rocks, provided the base is not buried. Water must be able to drain away completely.
Step 8: The Lifecycle, Blooming, and Propagation (Pups)
Air plants are monocarpic, meaning they bloom once in their lifetime. This event is spectacular.
- The Bloom: A colorful bract (spike) will emerge from the center, followed by tubular flowers. The blooming process can last weeks or even months.
- The Energy Drain: Blooming takes a massive amount of energy. The plant may begin to look “tired” or the tips may turn brown. This is normal.
- Pup Production: Before, during, or after flowering, the mother plant will produce “pups”—baby plants—at its base.
- Separation: Wait until the pup is at least 1/3 to 1/2 the size of the mother plant. You can either snip it off with a sterile knife or leave it attached to form a clump.
- The End: Eventually, the mother plant will slowly die back. Don’t throw it away! As long as the pups are healthy, the colony continues.
Troubleshooting Common Issues
- The Plant is turning brown at the base: This is usually rot caused by insufficient drying after watering. Cut off the rotten parts; if it reaches the crown, the plant is likely dead.
- The leaves are curling heavily inward: This is a sign of extreme dehydration. Increase soaking frequency, but ensure the plant dries afterward.
- The tips of the leaves are turning brown or crispy: This could be under-watering, but it is often caused by salt buildup (from tap water) or too much fertilizer. Give the plant a thorough soak in pure rainwater or distilled water to leach out salts.
Disclaimer
Disclaimer: The information provided in this guide is for educational and informational purposes only. Gardening results can vary significantly based on individual environmental factors, including local climate, humidity levels, water quality, and light conditions within your specific home. While every effort has been made to ensure the accuracy of the advice regarding Tillandsia care, the author and publishers assume no responsibility for any loss, damage, or injury to plants or persons resulting from the use of this information. Always handle plants with care, and be cautious when using fertilizers or adhesives, keeping them out of reach of children and pets. Some air plant species may be toxic to pets if ingested; please consult the ASPCA database or a veterinarian for specific pet safety concerns.
Target Keywords:
- Tillandsia
- Epiphytes
- Air Plant Care
Hashtags
#AirPlants #Tillandsia #Epiphytes #UrbanJungle #PlantParenthood #AirPlantCare #InteriorPlants #GreenThumb #Bromeliads #Succulents #PlantLady #HousePlants #GardeningTips #Terrarium #Botany
Have any thoughts?
Share your reaction or leave a quick response — we’d love to hear what you think!
-
 0
-
 0
-
 0
-
 0
-
 0
-
 0
